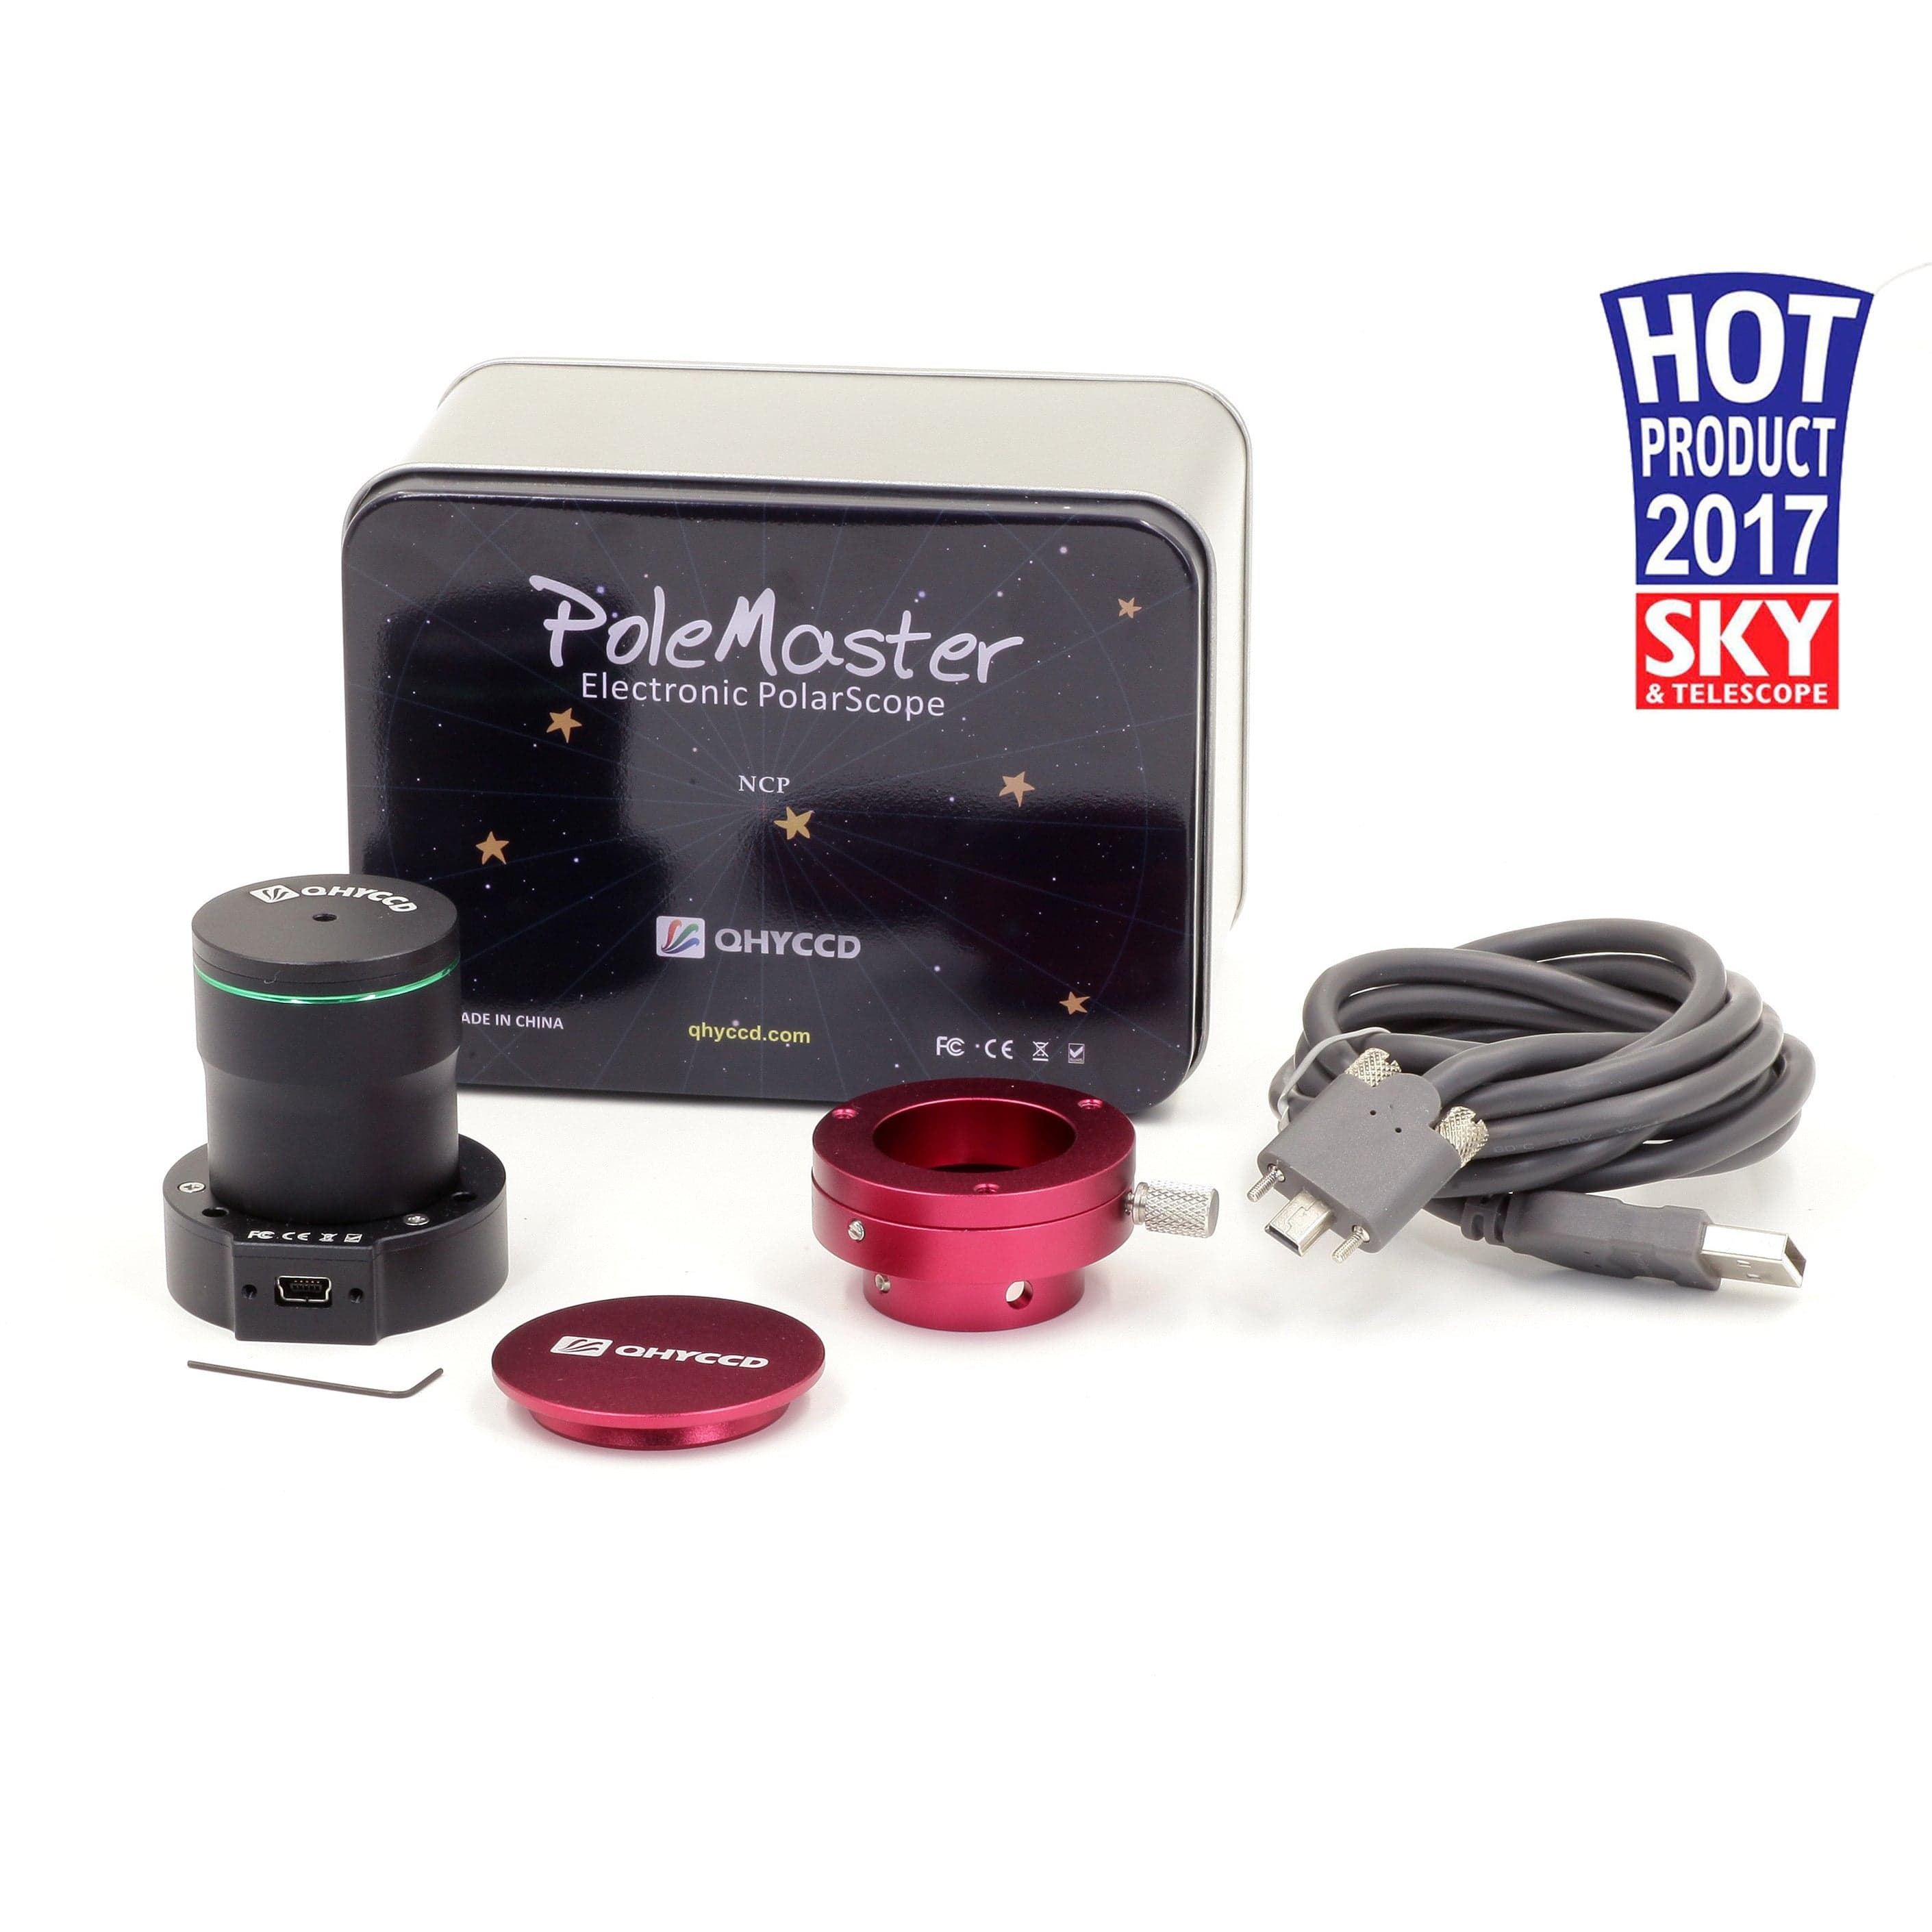
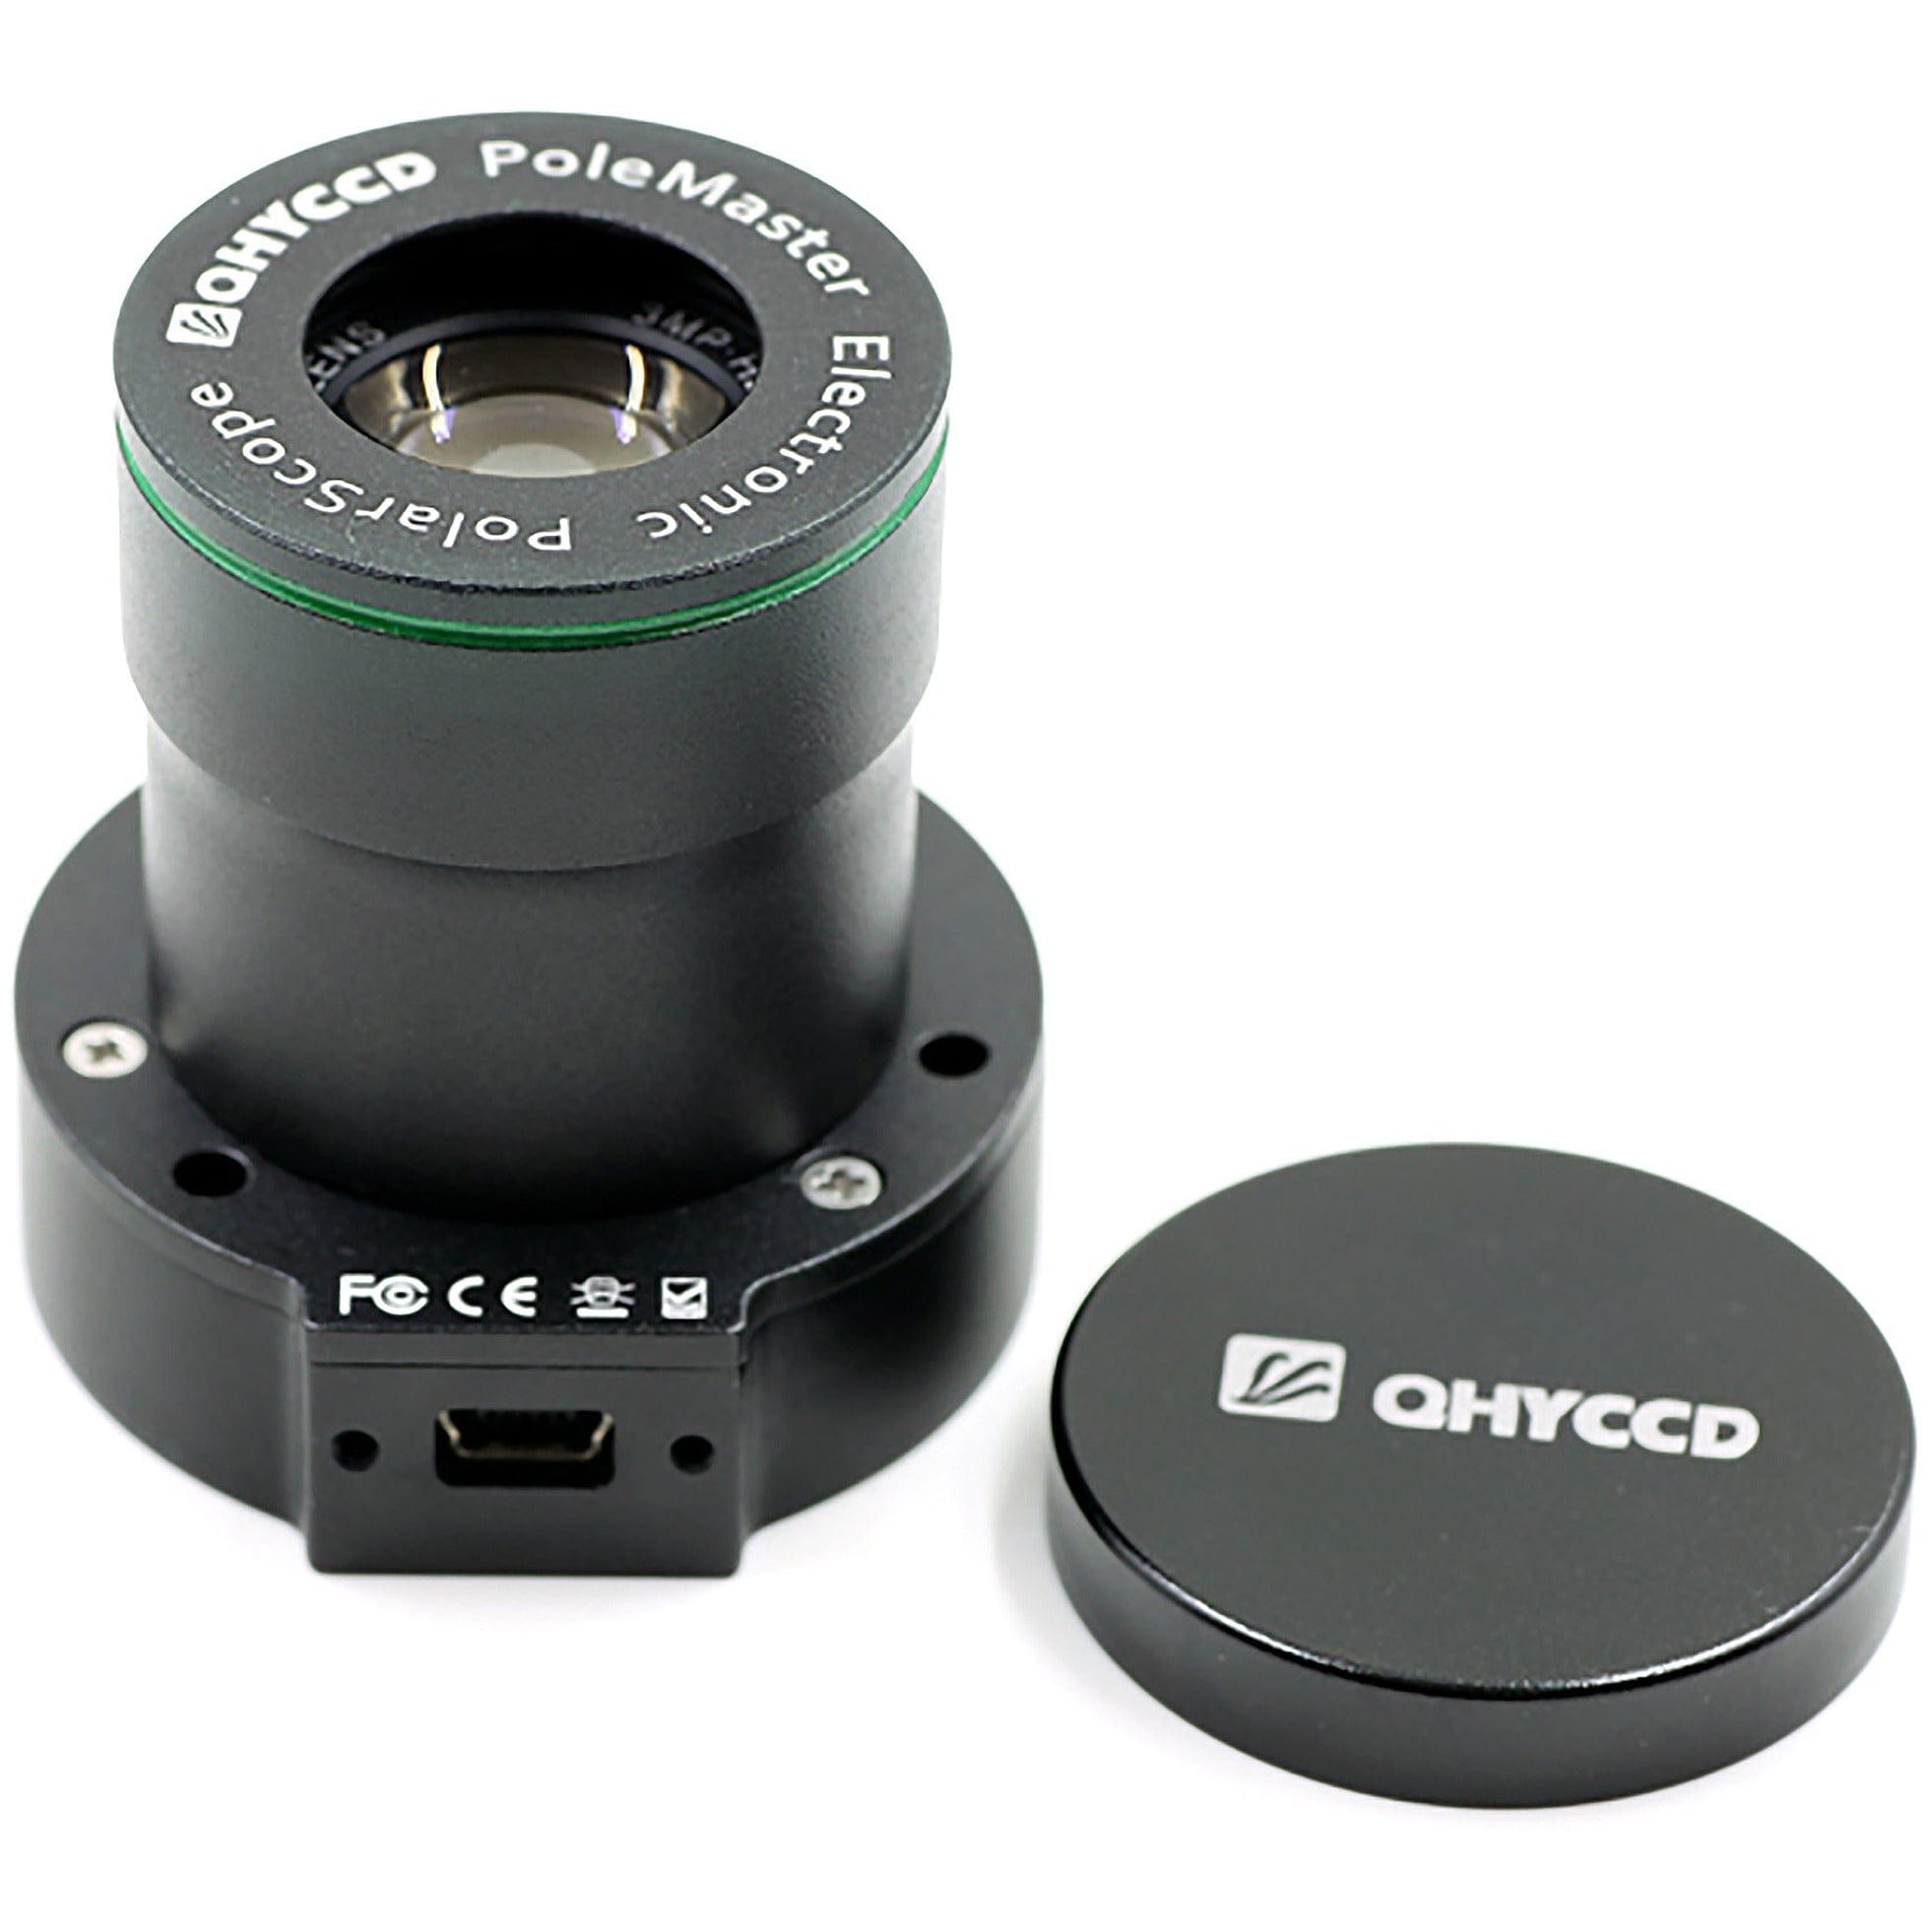
Before you use the application, you should have the mount roughly polar aligned. This can be achieved by aiming the mount due North (Northern hemisphere) or due South (Southern hemisphere) using a orienteering compass; and the adjust the latitude setting on the mount to match your local latitude. Refer to your mount manual on how this should be achieved. The purpose of this rough alignment is such that your pole star will be visible to the camera.(Polemaster has 11×6 degrees of field of view and in most circumstances the pole star should be visible if the mount has been rough polar aligned).
Connect PoleMaster to the computer using the supplied USB cable and launch the PoleMaster. During the first use, the computer will recognize the camera and install the driver for the camera. Launch the PoleMaster application (a shortcut would have been created on the Desktop for you during the software installation)
You will see the following screen:
Choose "Connect" on the menu.
The following section will become available:
Choose either Northern or Southern hemisphere. Enable "Astronomical Refraction", if you wish. Enter your local latitude and longitude.
Adjust the exposure settings (gain and exposure time) to optimize the display. Ideally you should adjust the setting until you can clearly see the pole star (Polaris in Northern hemisphere and sigma octantis in Southern hemisphere) plus a number of adjacent stars. Click "Finished" when done.
Verify the position of the pole star using the onscreen overlay. This picture shows how the Polarize looks like in PoleMaster FOV.

Locate your pole star on the screen. Double click on the pole star (Polaris or Sigma Octantis). If you have difficulty identifying the pole star or if you are not sure whether the pole star is on the screen (i.e. rough alignment is not good enough), you can save the screen as a .bmp file by choosing "File" then "Save as BMP". You can plate solve the BMP file using a number of free plate solver, including the online nova.astrometry.net. This will tell you which star is the pole star, or if the pole star is there at all. This is particularly useful for Southern Hemisphere as Sigma Octantis can be difficult to identify.
Once you have double clicked on the pole star, the application will ask you to align the overlay to match the display. The aim is to line up the stars adjacent to the pole star with the on-screen overlay. You can rotate the overlay by either using the keyboard arrow keys or by sliding on the slider tool marked "Rotate". You can also use the middle scroll wheel of your mouse if the mouse cursor is over the slider. At the end there should be a star visible in each of the red circle of the on-screen overlay. If this is not the case, verify that you have indeed selected the correct star as the pole star. Click "Success" to proceed to next step.
This picture show how the Sigma Octantis looks like and the mask for it in the PoleMaster.
Determine the RA rotation center
Choose a bright star adjacent to the pole star in the next step by double clicking it. To make the process more accurate, it is best to use a star that is not too close to the pole star. The on-screen instruction will prompt you to rotate the mount. In this step the application will try to determine the mechanical axis of rotation of your mount. To do that, keep an eye on the bright star that you selected, while slewing your mount using your mount control (usually the East button will rotate the mount in the direction required by the Application – some experimentation is required).
Rotate the mount such that the star moves by about 15 degrees. Click "Finished" then double click on the bright star again. Repeat one more time. Please make sure you are using the handset controller or computer software (like EQMOD, ASCOM etc) to perform the rotation. Don't manually perform the rotation by loosening the RA clutch as it will cause the rotational center to shift and result in large apparent error.
The Application will draw a green circle on the screen with the bright star on it. The center of the circle is where the Application think the center of rotation is. To verify this is correct, slew the bright star back to its original position (usually the West button, if you have used the East button in the previous step, or you can use the "Park" function of the mount if you start off from the Park position in the previous step)
Click "Correct" if the bright star moves along the circle. Click "Reset" to try again if it does not move along the circle.
Rough polar alignment
Double click on the pole star again and match up the on-screen overlay as per the earlier step. Click "Success" when done.
On the screen there is a small green circle. This is where your pole star should be. Use the mount azimuth and altitude adjusters, align the pole star with the green circle. When done, click "Finished".
Double click on the pole star again and match up the on-screen overlay as per the earlier step. Click "Success" when done.
Precise polar alignment
Click "Start Monitor"
Fine polar alignment is achieved when the small green circle and small red circle become aligned.
Click "Finished" when done or "Restart" to try again.
Please note there must be a star in each of the green box. If there is no star in it, the pole axis position cannot be determined. The green circle will drift randomly as a result.
After monitoring is started, as long as a GoTo has not been executed, the software will continuously determine the pole position frame by frame. If the mount is moved by accident and polar alignment is lost, the alignment can be restored by adjusting the mount to bring these two stars back into the green rectangle box. The pole position will be determined again and you can further adjust the mount to get it well aligned again.
After a GoTo, the stars will no longer be within the green boxes, but it is possible to rotate the green boxes to align them with the stars again manually.


