
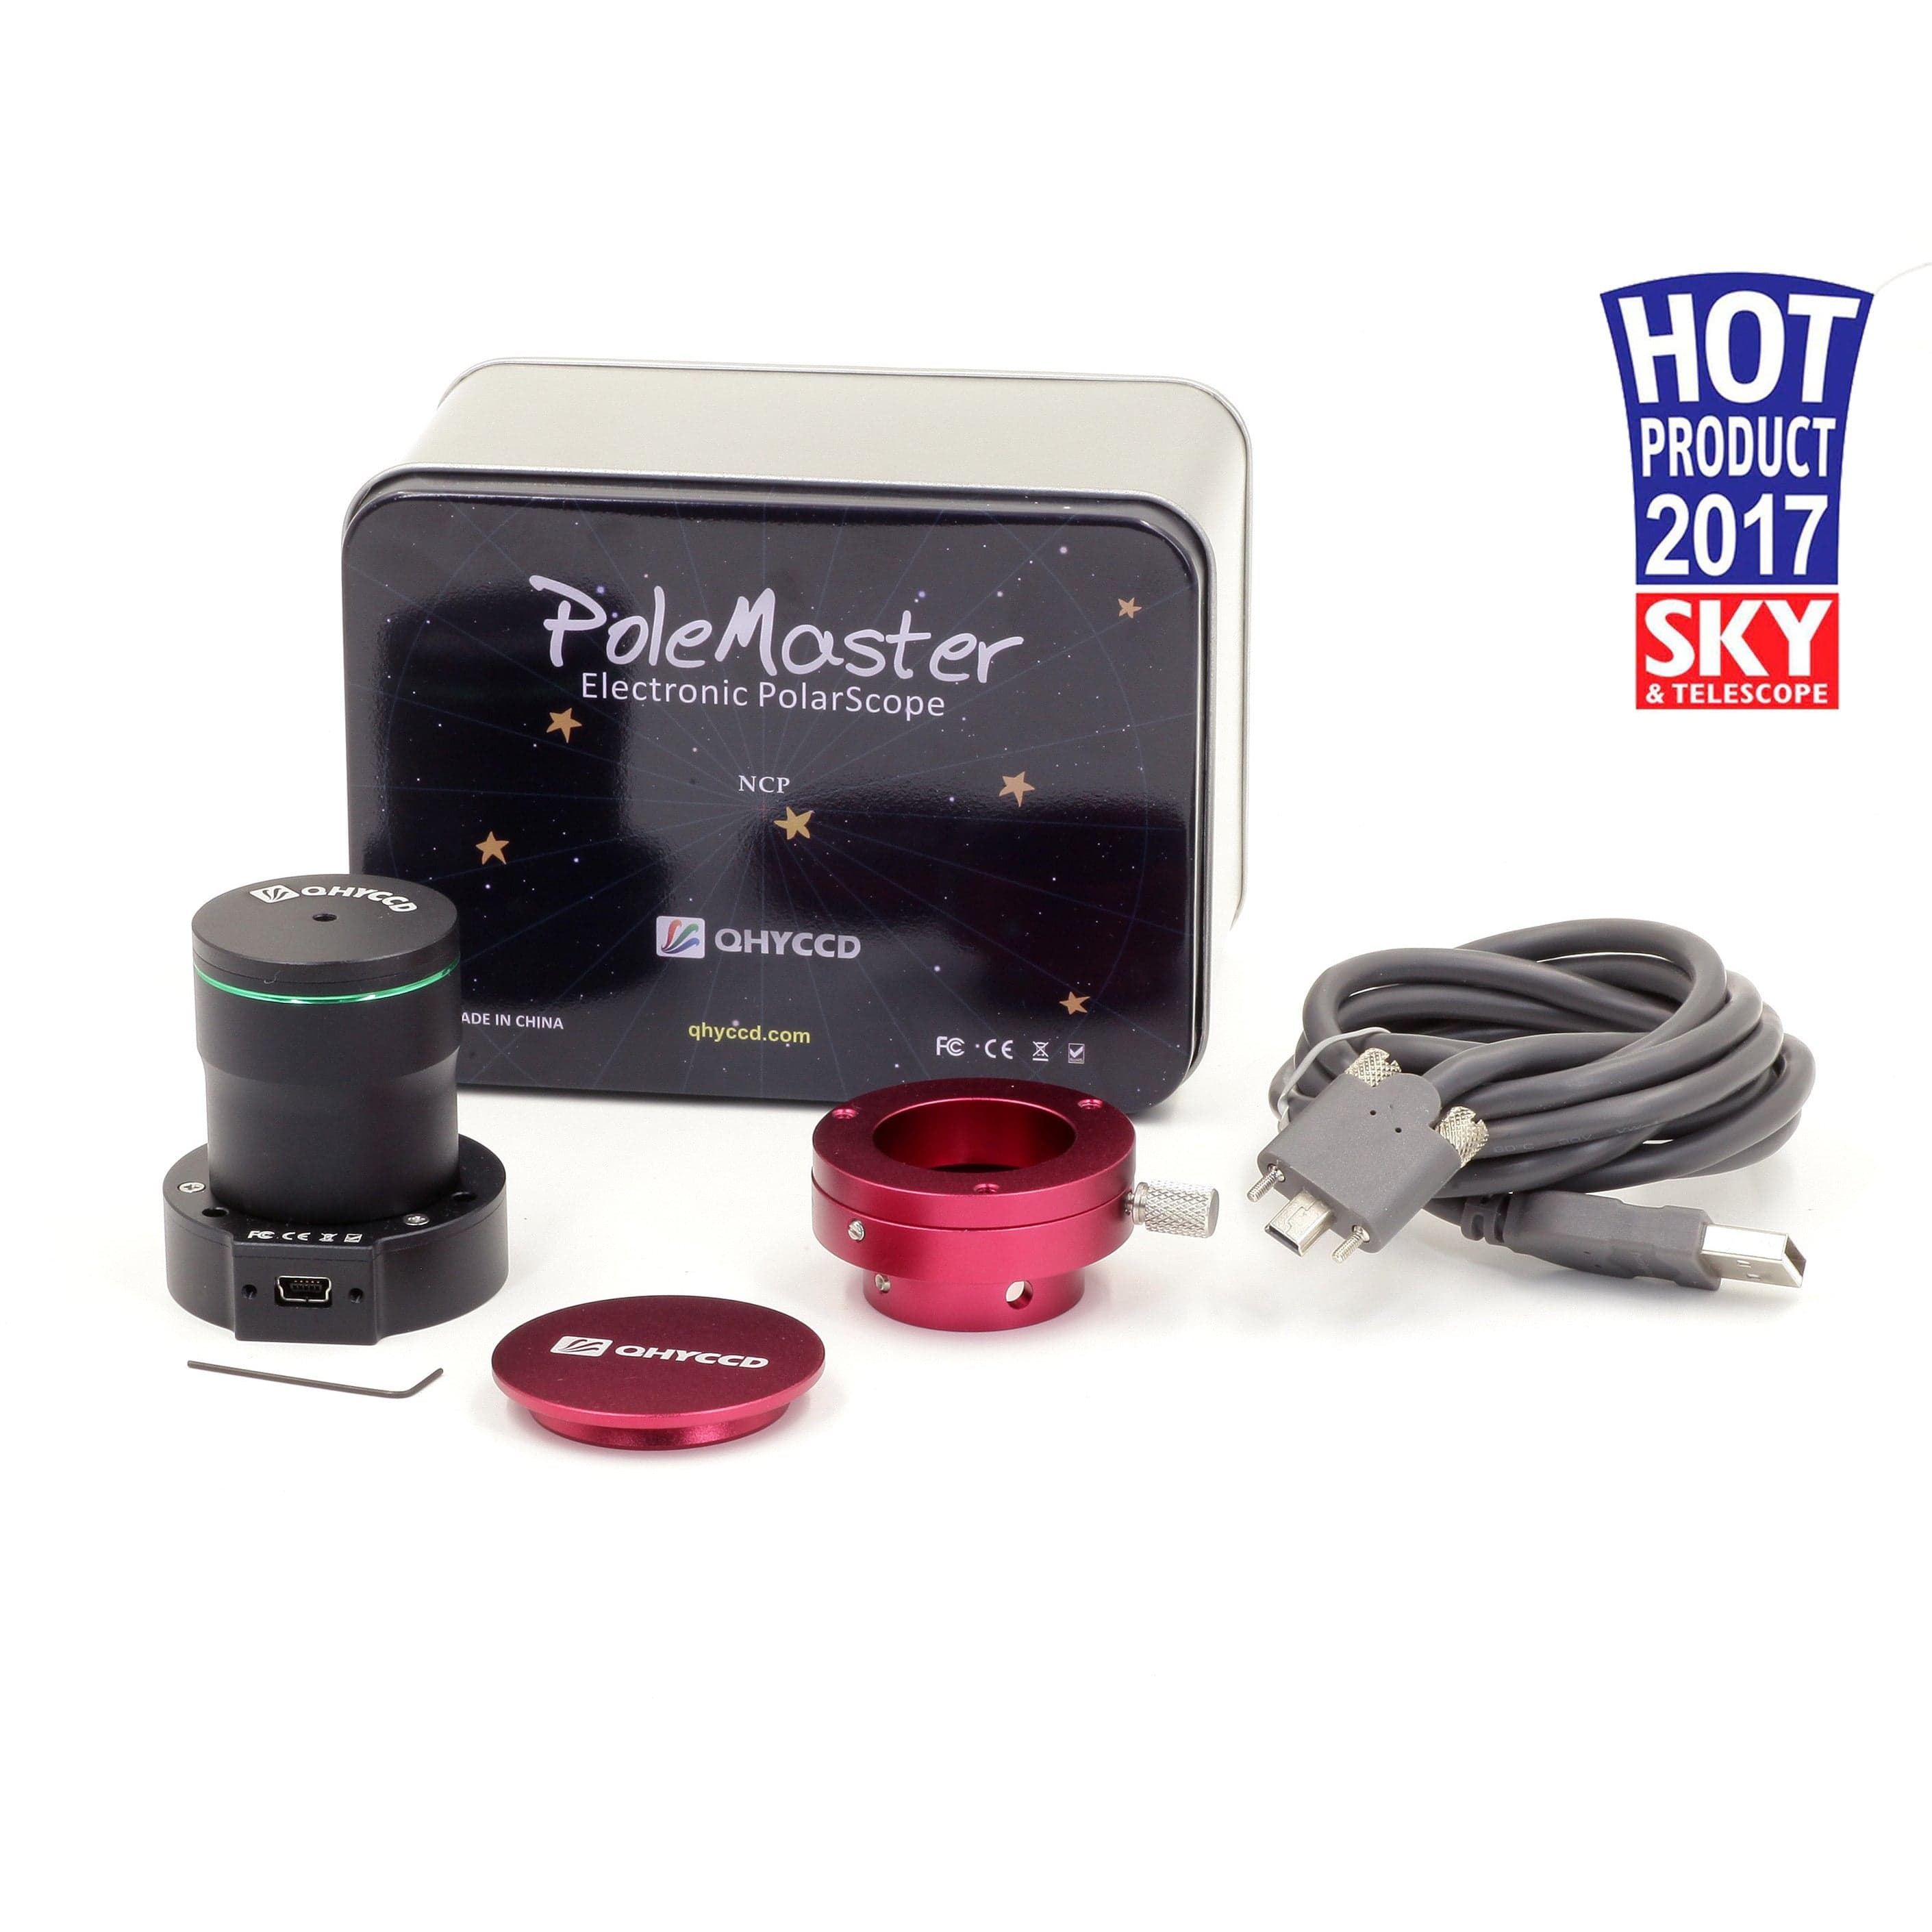


Description
Please choose the appropriate mount adapter when ordering. Ask us if you have any questions. Hobym mounts do not require an adapter.
To install your PoleMaster onto the mount, you will need an adaptor specifically made for your mount. The illustrations below use the Sky-Watcher NEQ6 mount adaptor as an example, but the instructions apply to adaptors made for other mounts.
The mount adaptor comes in two parts. There is a camera base disc which is attached to the back of the camera body; and there is a mount ring which is attached to the polar scope aperture of your mount. In use, the camera disc is attached to the mount ring by thumbscrews (the picture below shows the mount ring already attached to the mount, while the camera base disc is held in the hand).
To install the mount ring, simple insert it into the aperture / hole of the polar scope. Occasionally, the fit can be very snug due to variations in the thickness of paint that is on the mount. You can either scrap off some paint or use a rubber mallet to gently push the ring squarely into the polar scope aperture. One the ring sits squarely in the aperture, secure the ring to the aperture using by tightening the grub screws using the Allen key provided from within the aperture of the adaptor ring. You only need to perform this step on your first use.
Attach the camera disc to the back of the camera body using the bolts provided. You only need to perform this step on your first use.

In use, place the camera (with its camera base disc attached) onto the mount ring and secure the camera in place by tightening the thumbscrew. The USB port of the camera should be directed to the left side when you are facing the camera.

When not in use, you can either leave the camera on the mount attached; alternatively, you can remove the camera (with its camera base disc) from the mount ring by loosening the thumbscrew. Always protect the camera lens using the screw-on lens cap when not in use. If you choose to remove the camera, you may also want to prevent ingress of dust, dirt, bugs, etc into the mount through the mount ring by covering the mount ring opening with the adaptor cap provided.
Software Installation
Download the driver and the PoleMaster application from the QHYCCD website. The latest web link is printed on the quick start card within the box the camera comes in.
Unzip the files and run the executable files following the on-screen instructions.
If Windows gives any security warning during installation or during the launch of the Application, you must choose "Yes" to allow the Application to run properly.

Use PoleMaster
Before you use the application, you should have the mount roughly polar aligned. This can be achieved by aiming the mount due North (Northern hemisphere) or due South (Southern hemisphere) using a orienteering compass; and the adjust the latitude setting on the mount to match your local latitude. Refer to your mount manual on how this should be achieved. The purpose of this rough alignment is such that your pole star will be visible to the camera.(Polemaster has 11×6 degrees of field of view and in most circumstances the pole star should be visible if the mount has been rough polar aligned).
Connect PoleMaster to the computer using the supplied USB cable and launch the PoleMaster. During the first use, the computer will recognize the camera and install the driver for the camera. Launch the PoleMaster application (a shortcut would have been created on the Desktop for you during the software installation)

You will see the following screen:

Choose "Connect" on the menu.

The following section will become available:

Choose either Northern or Southern hemisphere. Enable "Astronomical Refraction", if you wish. Enter your local latitude and longitude.
Adjust the exposure settings (gain and exposure time) to optimize the display. Ideally you should adjust the setting until you can clearly see the pole star (Polaris in Northern hemisphere and sigma octantis in Southern hemisphere) plus a number of adjacent stars. Click "Finished" when done.
Verify the position of the pole star using the onscreen overlay. This picture shows how the Polarize looks like in PoleMaster FOV.

Locate your pole star on the screen. Double click on the pole star (Polaris or Sigma Octantis). If you have difficulty identifying the pole star or if you are not sure whether the pole star is on the screen (i.e. rough alignment is not good enough), you can save the screen as a .bmp file by choosing "File" then "Save as BMP". You can plate solve the BMP file using a number of free plate solver, including the online nova.astrometry.net. This will tell you which star is the pole star, or if the pole star is there at all. This is particularly useful for Southern Hemisphere as Sigma Octantis can be difficult to identify.
Once you have double clicked on the pole star, the application will ask you to align the overlay to match the display. The aim is to line up the stars adjacent to the pole star with the on-screen overlay. You can rotate the overlay by either using the keyboard arrow keys or by sliding on the slider tool marked "Rotate". You can also use the middle scroll wheel of your mouse if the mouse cursor is over the slider. At the end there should be a star visible in each of the red circle of the on-screen overlay. If this is not the case, verify that you have indeed selected the correct star as the pole star. Click "Success" to proceed to next step.
This picture show how the Sigma Octantis looks like and the mask for it in the PoleMaster.

Determine the RA rotation center
Choose a bright star adjacent to the pole star in the next step by double clicking it. To make the process more accurate, it is best to use a star that is not too close to the pole star. The on-screen instruction will prompt you to rotate the mount. In this step the application will try to determine the mechanical axis of rotation of your mount. To do that, keep an eye on the bright star that you selected, while slewing your mount using your mount control (usually the East button will rotate the mount in the direction required by the Application – some experimentation is required).
Rotate the mount such that the star moves by about 15 degrees. Click "Finished" then double click on the bright star again. Repeat one more time. Please make sure you are using the handset controller or computer software (like EQMOD, ASCOM etc) to perform the rotation. Don't manually perform the rotation by loosening the RA clutch as it will cause the rotational center to shift and result in large apparent error.
The Application will draw a green circle on the screen with the bright star on it. The center of the circle is where the Application think the center of rotation is. To verify this is correct, slew the bright star back to its original position (usually the West button, if you have used the East button in the previous step, or you can use the "Park" function of the mount if you start off from the Park position in the previous step)
Click "Correct" if the bright star moves along the circle. Click "Reset" to try again if it does not move along the circle.
Rough polar alignment
Double click on the pole star again and match up the on-screen overlay as per the earlier step. Click "Success" when done.
On the screen there is a small green circle. This is where your pole star should be. Use the mount azimuth and altitude adjusters, align the pole star with the green circle. When done, click "Finished".
Double click on the pole star again and match up the on-screen overlay as per the earlier step. Click "Success" when done.
Precise polar alignment
Click "Start Monitor"
Fine polar alignment is achieved when the small green circle and small red circle become aligned.
Click "Finished" when done or "Restart" to try again.
Please note there must be a star in each of the green box. If there is no star in it, the pole axis position cannot be determined. The green circle will drift randomly as a result.
After monitoring is started, as long as a GoTo has not been executed, the software will continuously determine the pole position frame by frame. If the mount is moved by accident and polar alignment is lost, the alignment can be restored by adjusting the mount to bring these two stars back into the green rectangle box. The pole position will be determined again and you can further adjust the mount to get it well aligned again.
After a GoTo, the stars will no longer be within the green boxes, but it is possible to rotate the green boxes to align them with the stars again manually.
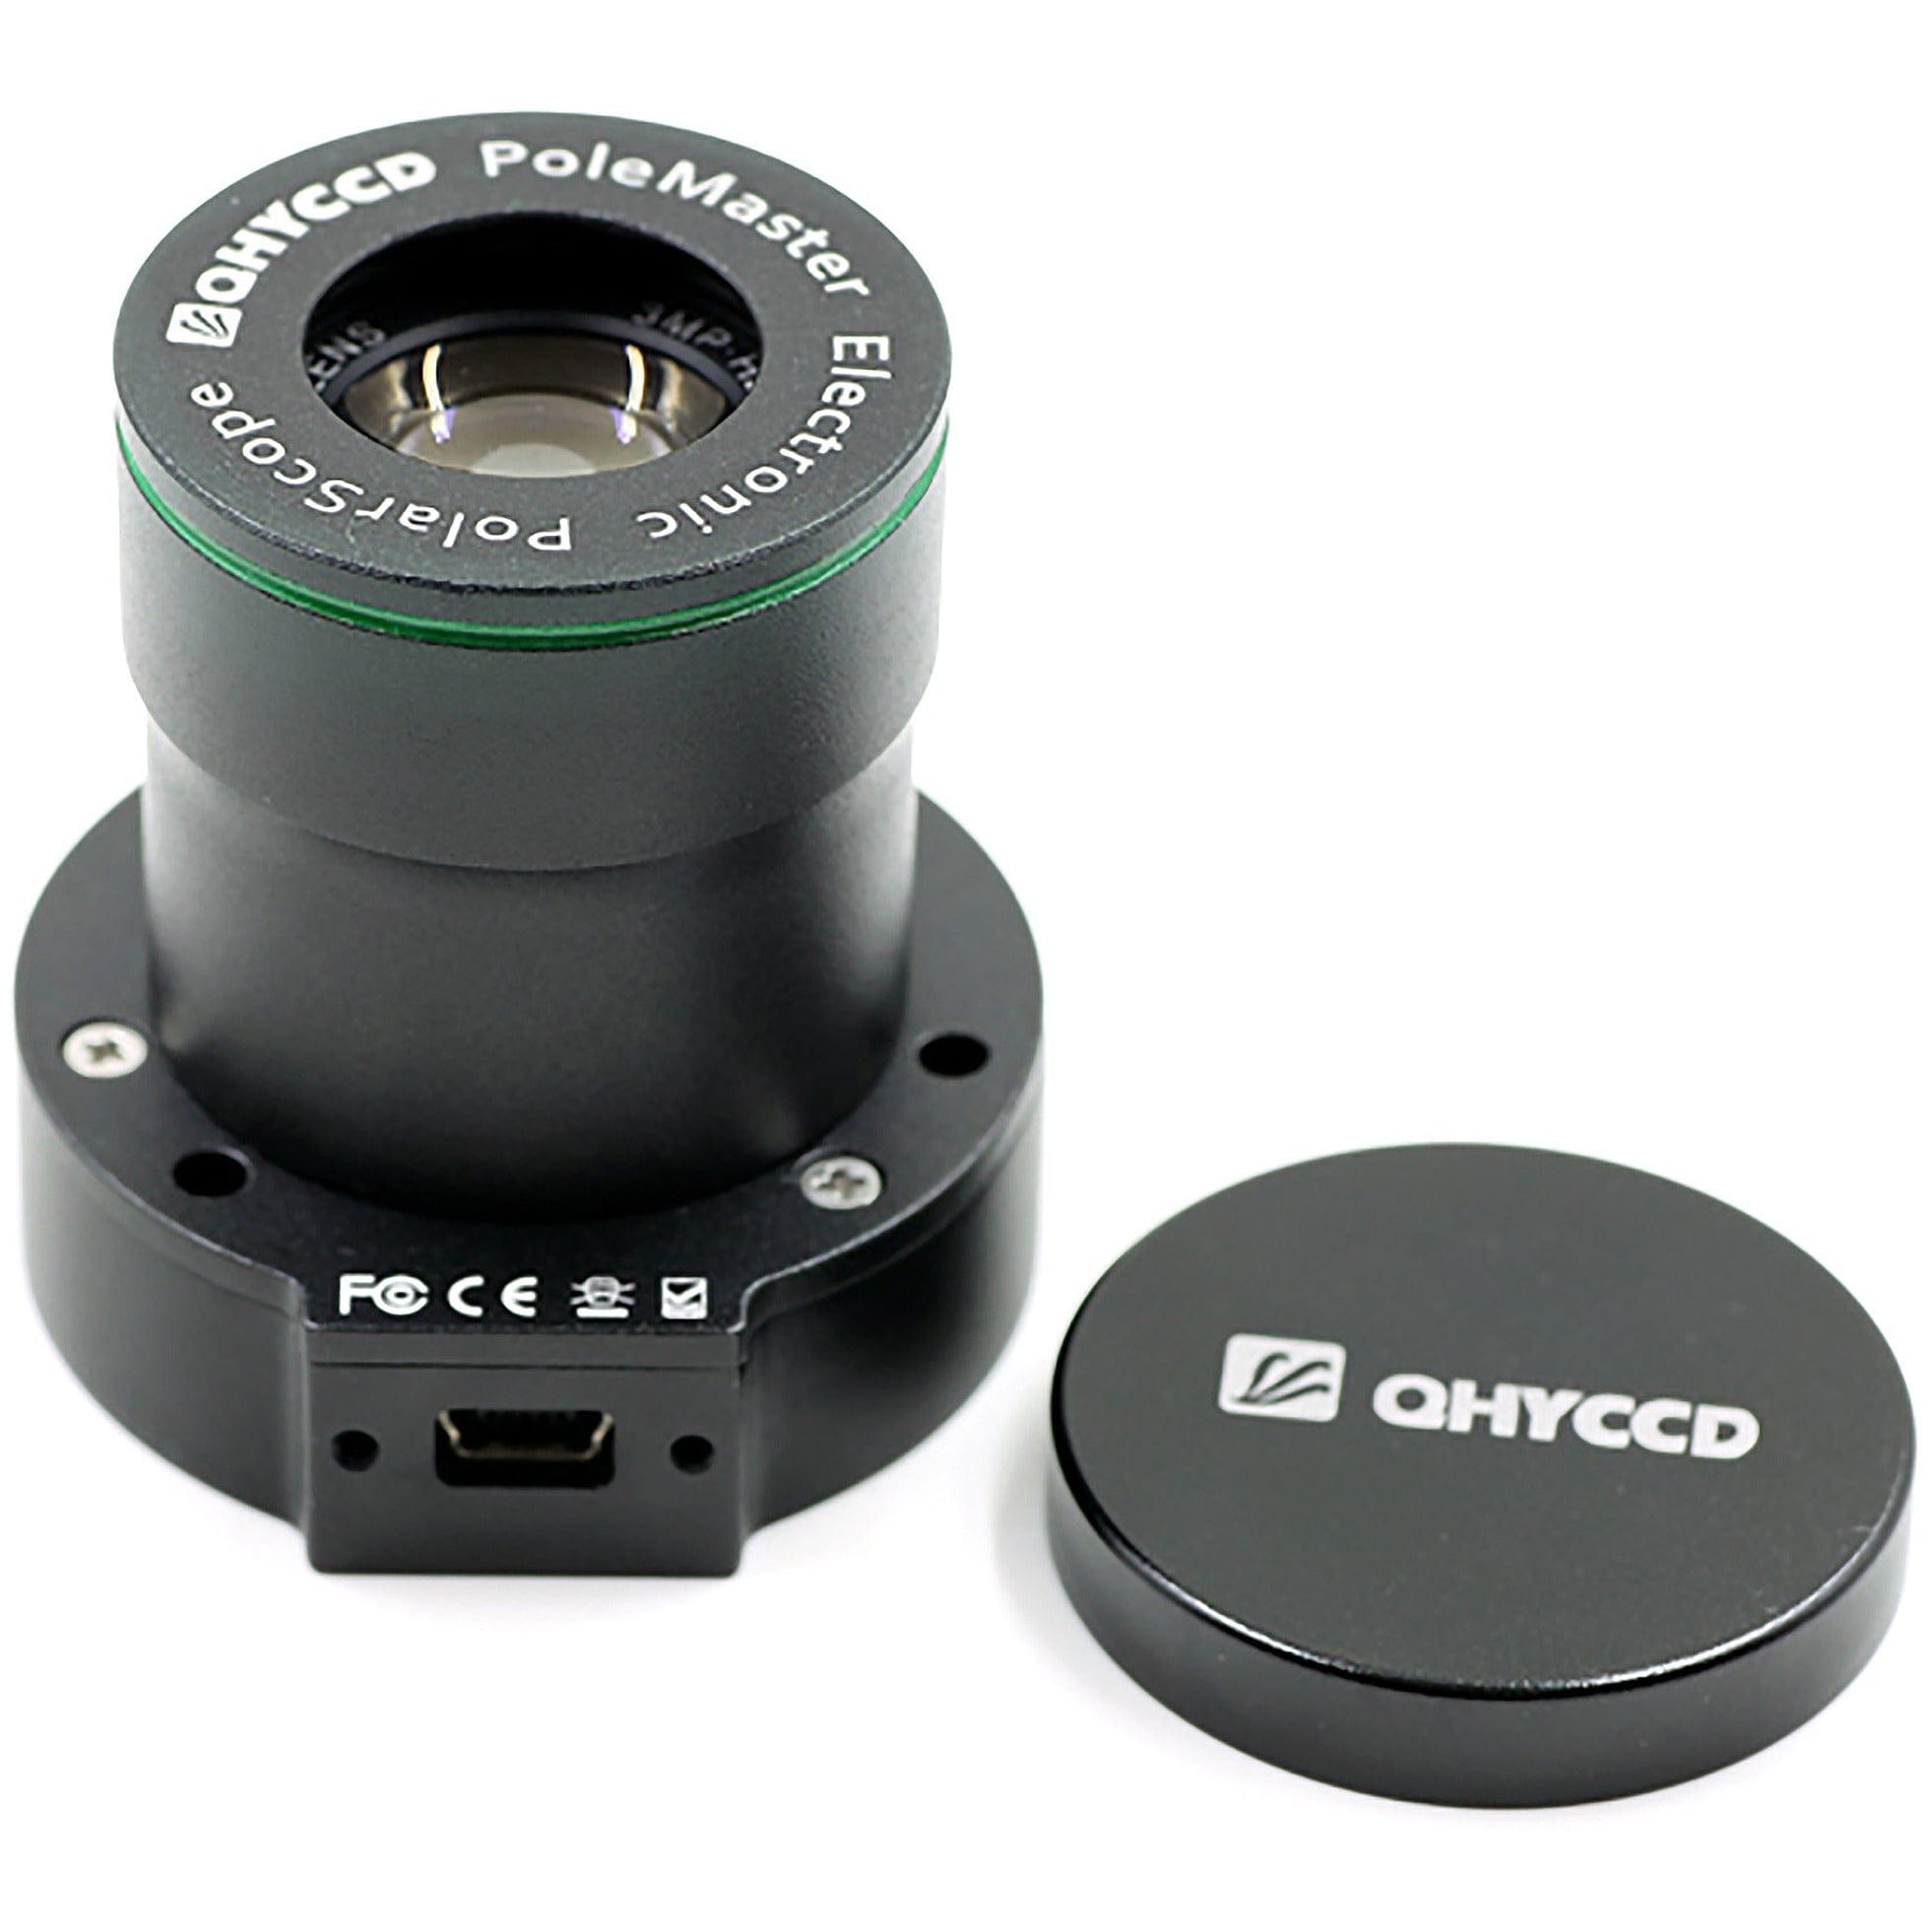
Polar lens focusing
Before the electronic polar lens leaves the factory, the focal length has been adjusted. If you find that the focal length is still incorrect and the star point is not fine enough, you need to readjust the focal length. Once locked, you don't need to be right again.
The method is:
1. Unscrew the protective barrel of the electronic polar lens
2. Use an M2 Allen key to loosen the top screw on the side of the inner lens
3. Adjust the lens towards the starry sky to make the star point the finest
4. Lock the top wire and replace the protective sleeve.
PoleMaster For Raspberry Pi
PoleMaster For Raspberry Pi is based on QHYCCD's cross-platform SDK and POLEMASTER's QT cross-platform version.
QHYCCD cross-platform version provides cross-platform support for WINDOWS (X86, X64), LINUX (based on INTEL CPU and ARM CPU), MAC/OS, Android and other mainstream operating systems. Can run most QHYCCD cameras. If you want to use QHYCCD to develop your own software, please visit the developer page to get the library files of the QHYCCD SDK, DEMO programs, etc.
1. Image burning (for the Raspberry Pi machine production system)
The Raspberry Pi supports many versions of the system, such as linux, raspberry pi, windows, and so on. The startup mode of the Raspberry Pi is to start the memory card. The kernel and system files written in the memory card are automatically loaded at startup. It is recommended to use 16G and above memory cards for image programming. The steps to program the system to the memory card are as follows:
Download the image file of the required system with the suffix .img. The download URL can be found on the official website of the Raspberry Pi (https://ubuntu-mate.org/download/). The Ubuntu MATE version is used here. Mirroring, the system is based on Linux system;
after decompressed:
Usually the program will automatically select the memory card device. If it is not automatically selected or selected incorrectly, you need to select the correct memory card device at the Driver, click Format to start formatting the memory card, and the dialog box that pops up selects OK;
After waiting for a while, the memory card is formatted successfully;
1.3. Image burning, the tool for burning is win32diskimager, you can use other programming software;
https://cdn.shopify.com/s/files/1/0224/6770/6960/files/20181222054228354.zip?v=1765065828
The device usually does not need to be selected. If the software does not automatically select or select the error, you need to select it manually. Click the Select button. In the pop-up window, select the image file that you just unzipped. After selecting it, click the Write to start burning image. ;
During the programming process, the software will display the progress of the task. After waiting for a few minutes, the image will be burned.
After the image is burned, connect the mouse, keyboard, monitor and power. After power-on, the device will automatically run and run the mirror system in the memory card. The system needs to be set up for the first time, such as language, WiFi, device name, power-on password, etc. After the system is configured successfully, it will automatically enter the system interface.
language setting:
Set the name and power-on password:
Once set up, the system will be installed automatically, and it will take a little time in the middle to wait patiently.
install the system:
Set the system configuration:
The configuration is successful:
The method of making a Raspberry Pi image is not unique. Other methods are also available, but you should pay attention to the Ubuntu MATE version of the image file. Other versions of the image are not supported.
2. Install the QHYCCD SDK
Download and unzip installer_sdk.tar.gz, go to the installer_sdk directory and run installer.sh
$ cd installer_sdk
$ sudo ./installer.sh //Installed successfully without prompting an error
3. Install and modify the system configuration file
Download and unzip PoleMaster PoleMaster_Qt-for-RPI-Ubuntu-1.3.5.0.deb.zip and install it using the dpkg command.
$ sudo dpkg -i PoleMaster_Qt-for-RPI-Ubuntu-1.3.5.0.deb
After installation, go to the /usr/bin/PoleMaster directory and check if the installation is successful and the link to the library file is correct.
$ cd /usr/bin/PoleMaster
$ ldd PoleMaster //If the not found library file link , the link is correct
Add command line
Modify the .bashrc file and add "export PATH=$PATH:/usr/bin/PoleMaster" on the last line. After modification, you can use the "sudo PoleMaster" command to start the software from any location. If you use the sudo command after adding it, you will be prompted. "sudo: PoleMaster: command not found", you need to add "alias sudo='sudo env PATH=$PATH &>/dev/null'" later
$ sudo nano ~/.bashrc
Additional Resources