Description
Highlights
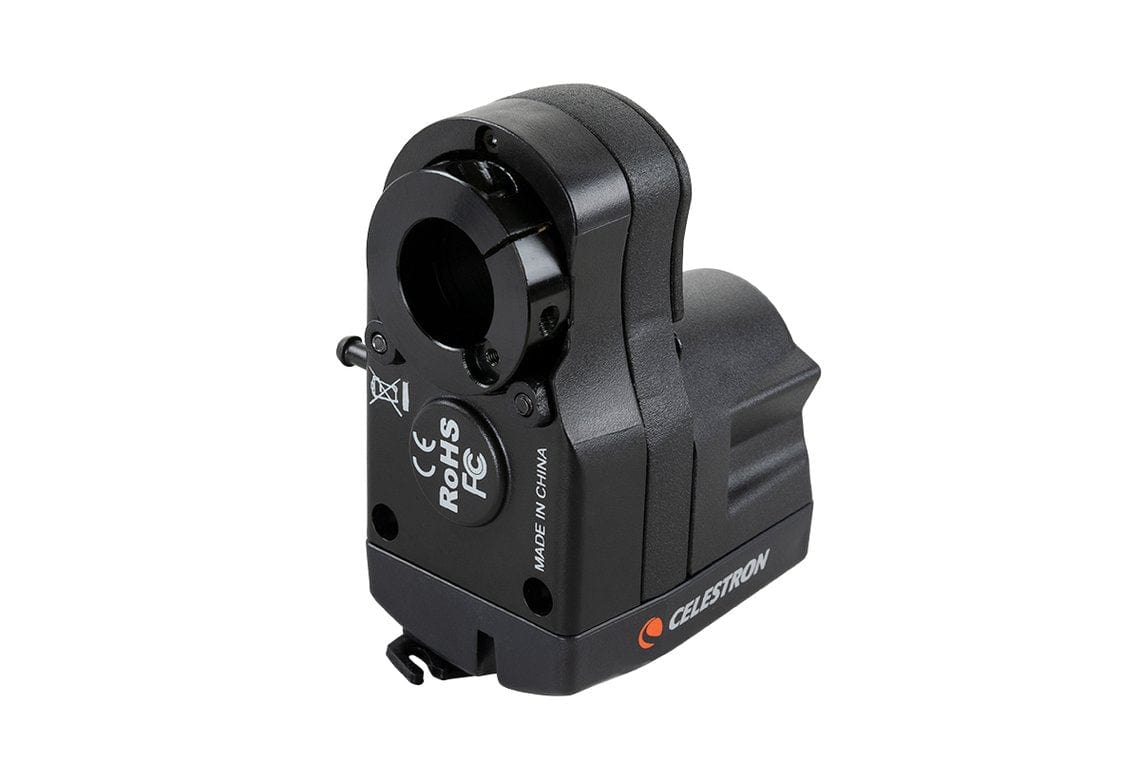
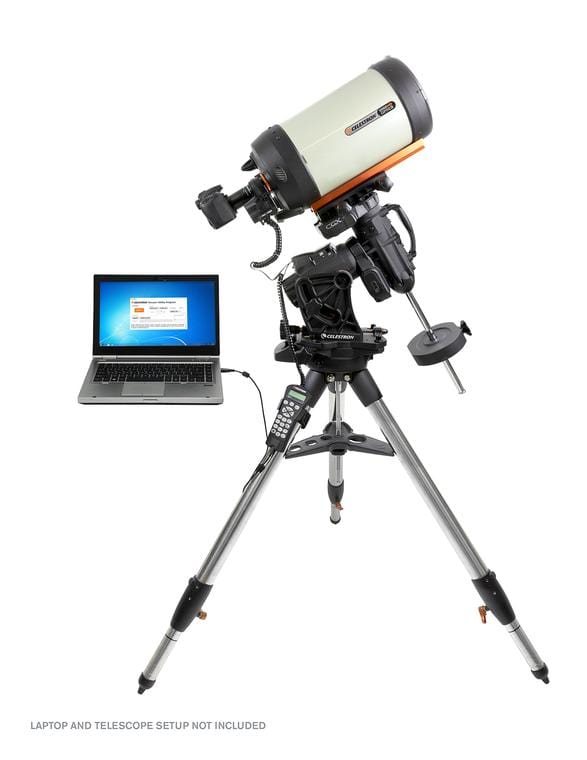
- The Celestron Focus Motor enables electronic focusing using a computer or Celestron computerized mount hand controller for remote/hands-free observing.
- Self-powering: When connected to a Celestron computerized mount, the mount provides the power. When connected directly to a computer, USB provides the power.
- Compatible with a wide variety of Celestron Schmidt-Cassegrain, EdgeHD, and Rowe-Ackermann Schmidt Astrograph optical tubes. Check description for full list.
- Motor controls include multiple speed rates, automatic GoTo indexed focuser position, and focuser backlash compensation.
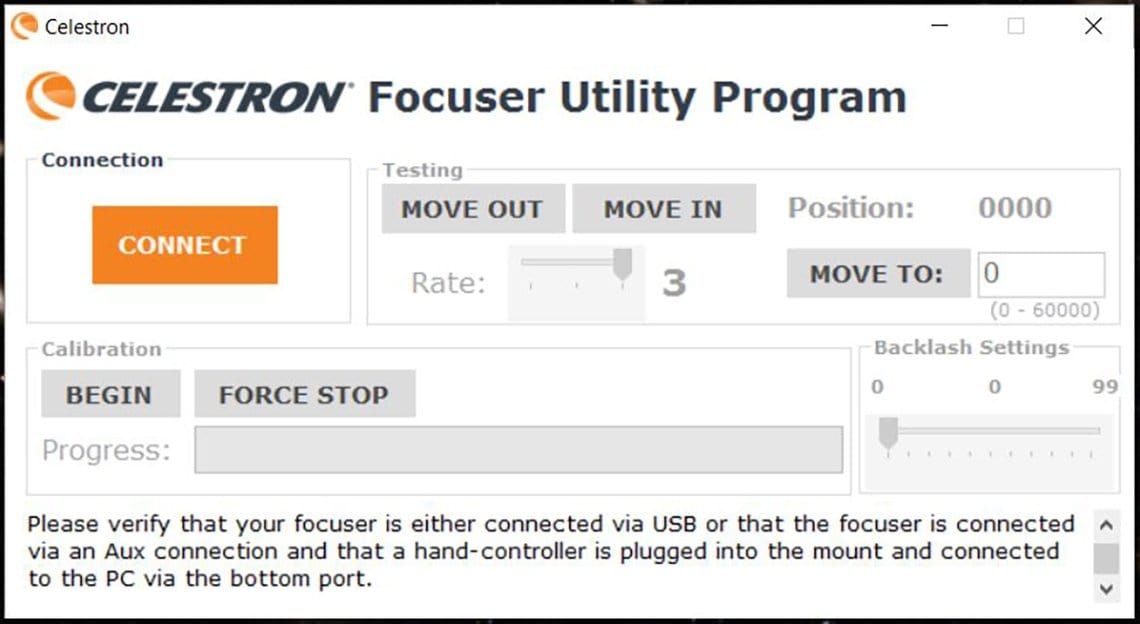
- Focuser Utility software for Windows provides a simple user interface. Also compatible with Celestron PWI.
- Enables autofocusing with a camera and third-party software via ASCOM.
- Indexed focus position allows the motor to automatically return to a previous focus position and prevents the focus motor from reaching the end of telescope's mechanical focus travel.
- Now compatible with the 9.25 EdgeHD.
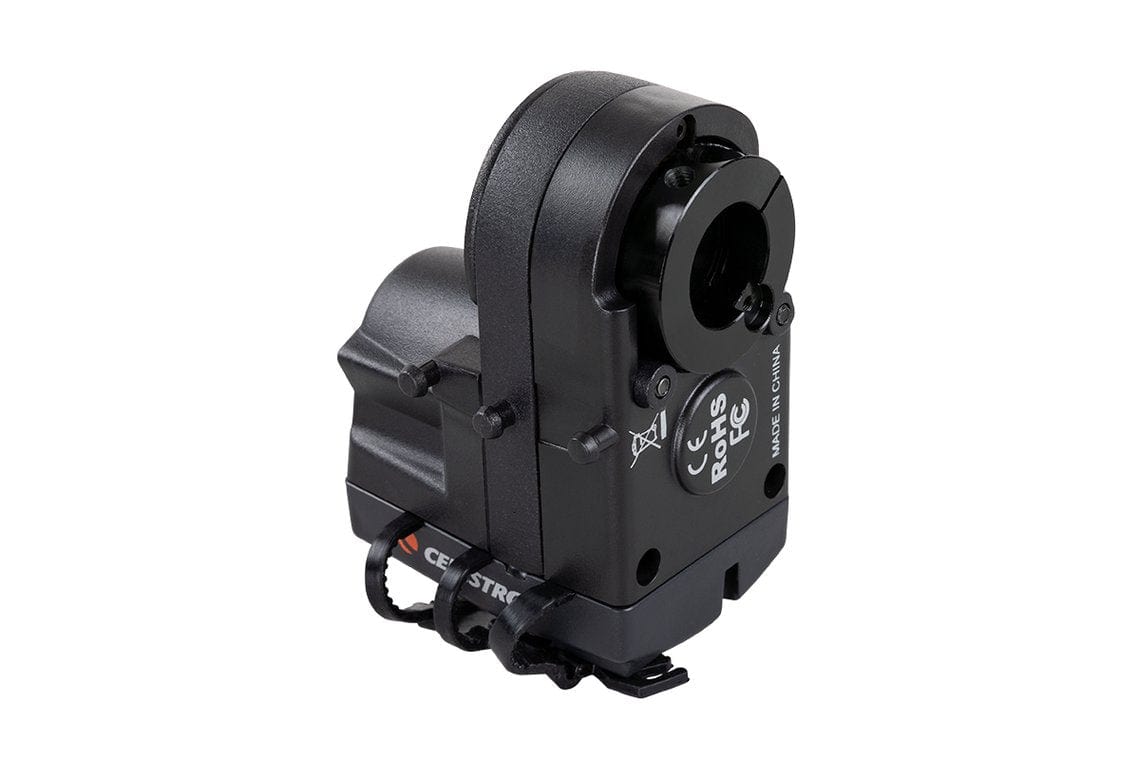
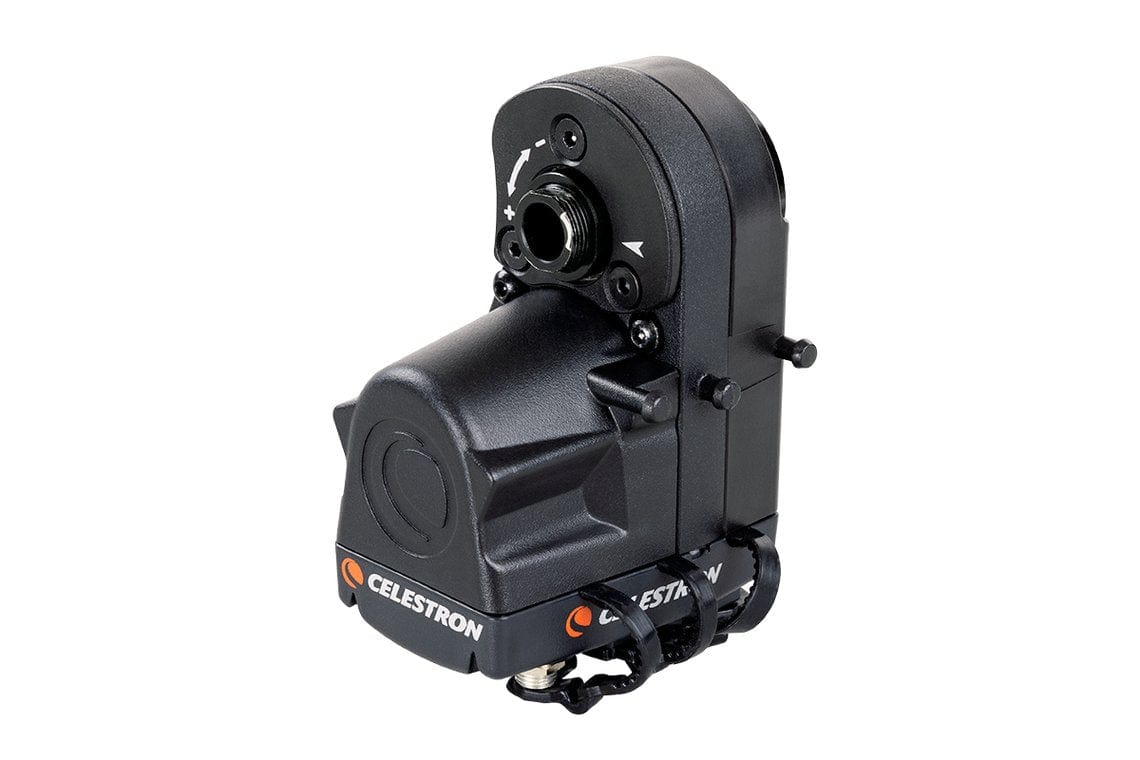
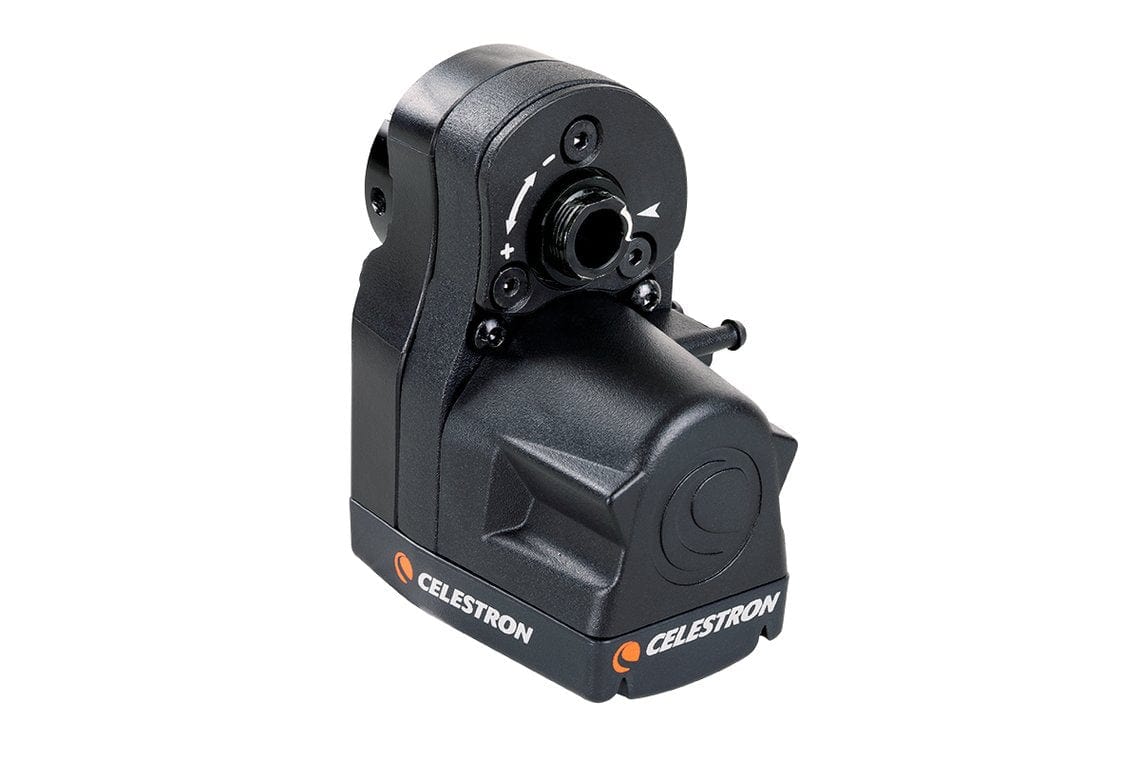
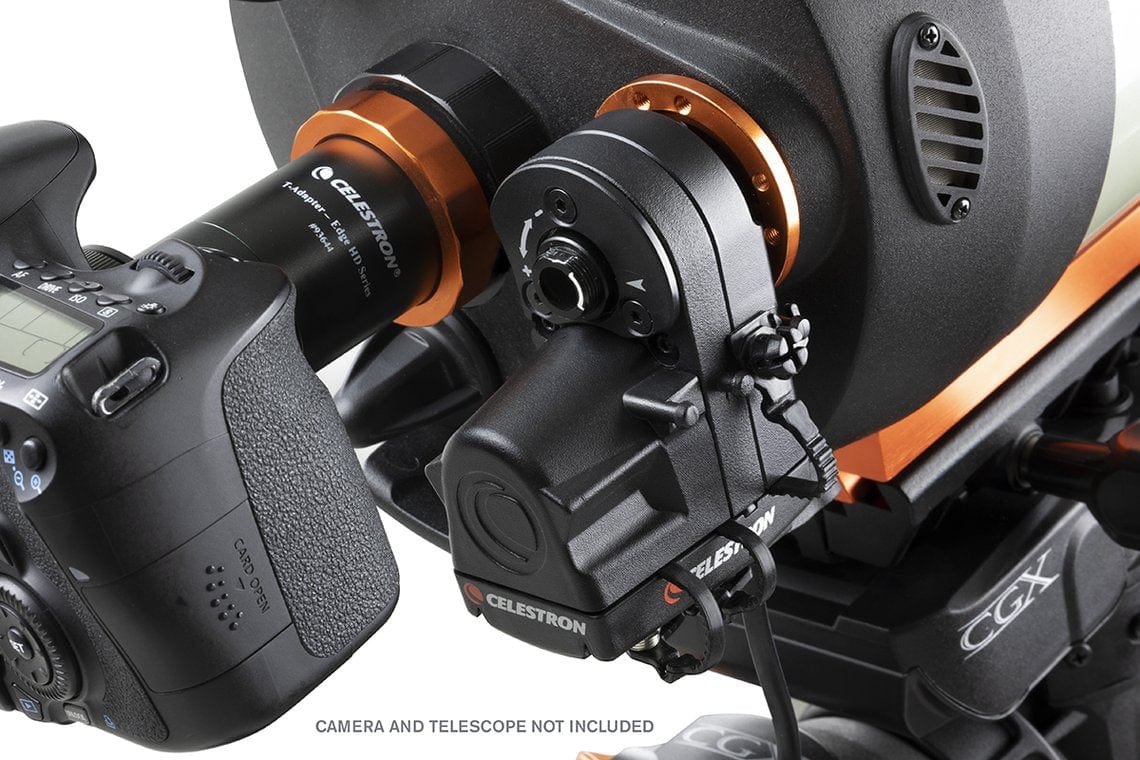
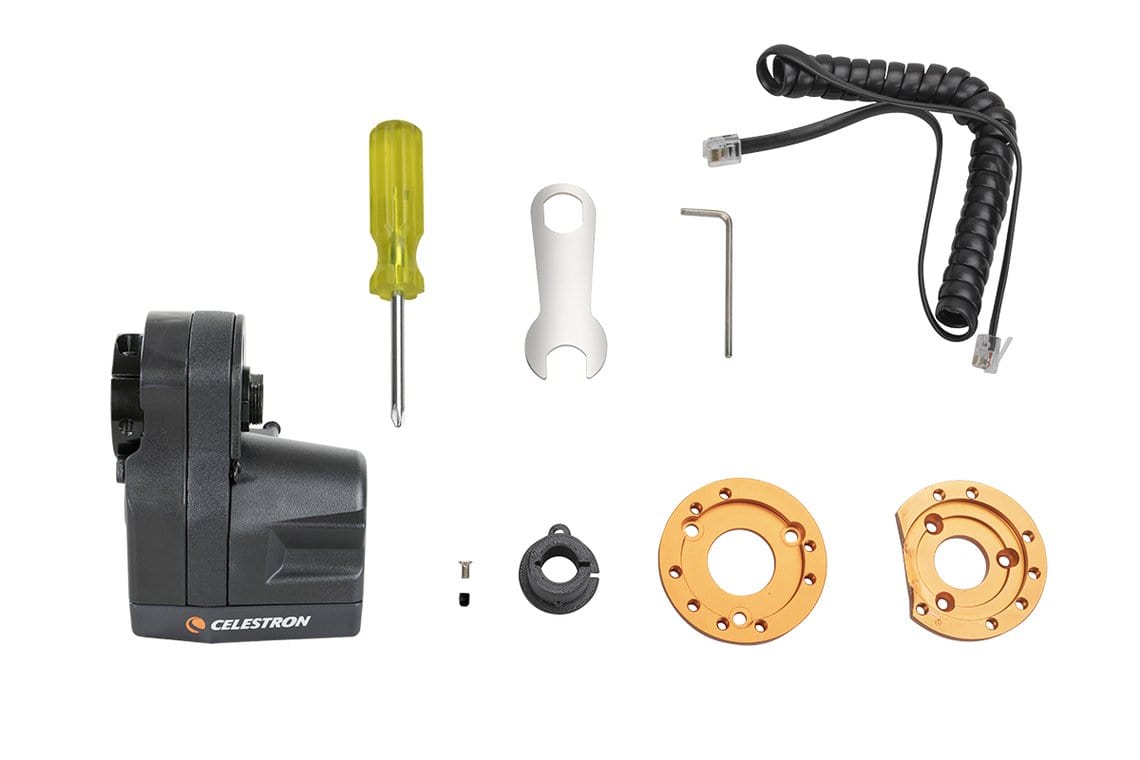
The Focus Motor provides electronic focusing for Celestron Schmidt-Cassegrain (SCT), EdgeHD, and RASA telescope optical tubes. With the focus motor installed, you can bring celestial objects into sharp, precise focus using your telescope's hand controller or a computer instead of using the focuser knob. A focus motor is great for visual observers who want to dial in exact focus (especially those with dexterity issues) and a must-have accessory for astroimagers. With a motorized focuser installed, an astro imager no longer needs to be physically near the telescope to focus an image. Combined with computerized control of the mount and camera, the focus motor enables the imager to gather data remotely from a backyard observatory, or even a telescope located hundreds of miles away. As an added bonus, port covers protect the ports while not in use, and the covers cannot be lost due to the tethered design.
Compatible Optical Tubes
The focus motor is compatible with all SCTs from 6 to 14 in aperture that have been produced since the year 2006. It is not compatible with 5 SCTs or older models. It is compatible with the 8 Rowe-Ackermann Schmidt Astrograph (RASA), the 36cm RASA, the 7 Maksutov-Cassegrain, and all the EdgeHD optical tubes. The RASA 11 (91075) is compatible with the #94155-A focus motor, but requires the Focuser Retrofit Kit for RASA 11. The RASA 11 V2 (91076) is compatible with the #94155-A without a retrofit kit needed.
For 6 Schmidt-Cassegrain telescopes only, the Off-Axis Guider (#93648) cannot be used when the focus motor is installed due to mechanical interferences.
Power Options
There are three options for powering your Celestron Focus Motor:
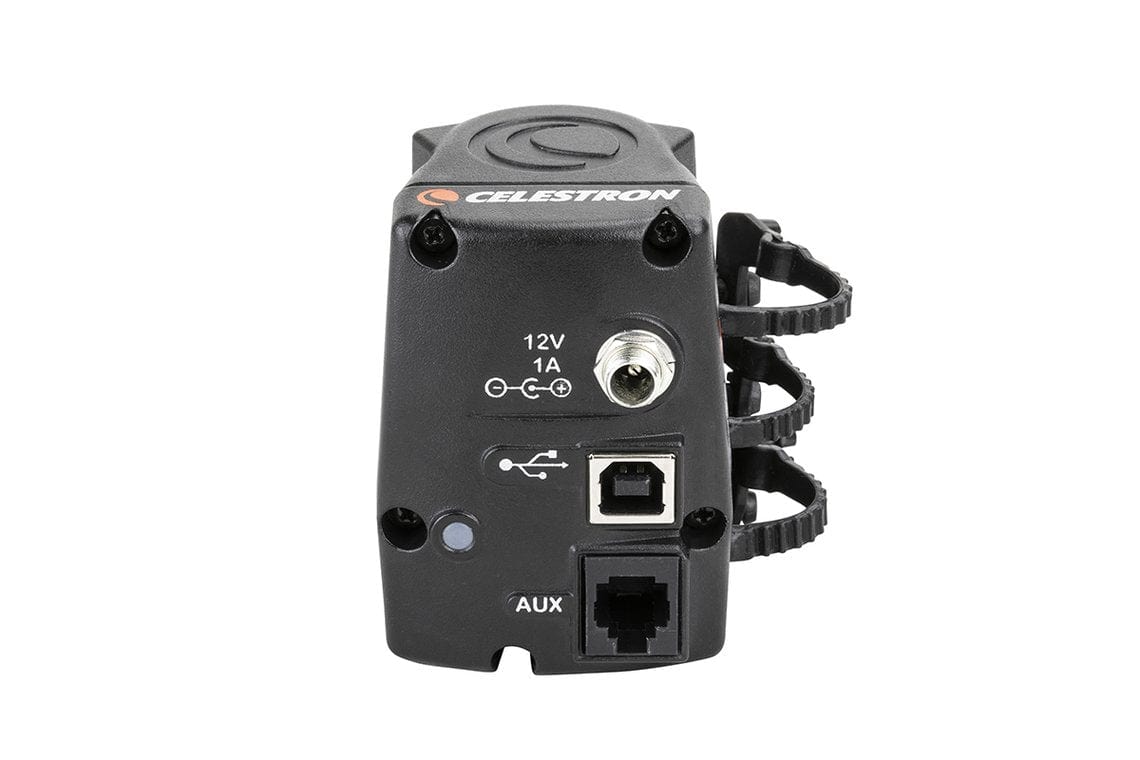
- When using a Celestron computerized mount, you can power and control the focus motor through the mount using the supplied AUX cable. This allows control from the mount's hand controller (NexStar+ or StarSense) or a computer.
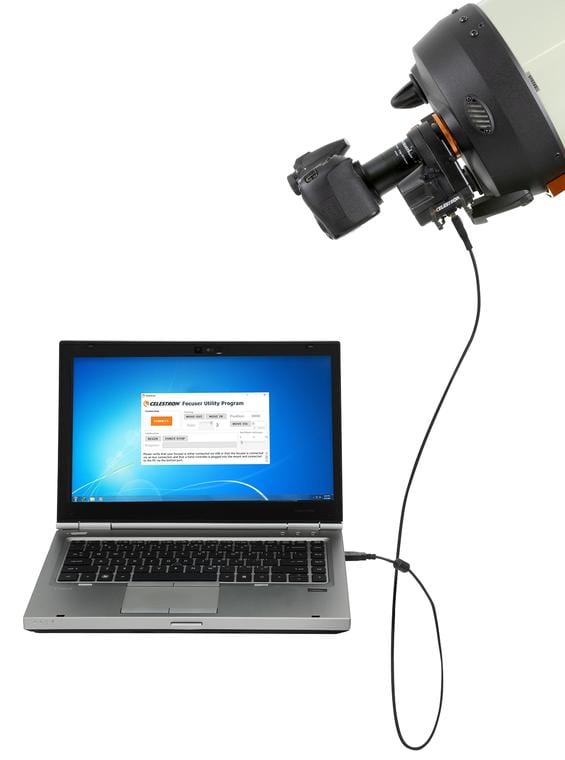
- If you are not using a Celestron mount, you can power and control the focus motor from a computer USB port. You will need a user supplied USB A-to-B cable.
- You may also opt to use an external 12V DC power source which plugs into the motor's power jack.
Compatible Software
Celestron offers a free Focuser Utility program for computer control. The Celestron PWI software can also control the focus motor. To use third-party focuser control software, an ASCOM driver is needed.
FAQ
The Focus Motor is compatible with 6 inch or larger Celestron Schmidt-Cassegrain telescopes (SCTs) built since the year 2006. I'm not sure when my SCT was built, how do I determine if the Focus Motor is compatible or not?
You can determine if the Focus Motor is compatible with your Celestron SCT by examining the design of its rear cell. This applies to fork mounted optical tubes and optical tubes with dovetail mounting bars. Older generation Celestron SCTs built before the year 2006 are not compatible with the Focus Motor. These older optical tubes have either a flat face or a ribbed face on the rear cell. See photo examples below.
Newer generation Celestron SCTs built in the year 2006 or later are compatible with the Focus Motor. These newer OTAs have a trilobed shape on the rear cell. In addition, newer generation 14 inch SCTs have a rounded rear cell. See photo examples below. All 6 SCTs built in 2006 or later are compatible with the focus motor.

Installing the Focus Motor ASCOM Driver on PCs Running an Older Windows OS
The ASCOM driver must first be downloaded and installed on your Windows computer. You can find the ASCOM driver on the Focus Motor product page at www.celestron.com under the Support and Downloads tab. Click on the downloaded .exe file, and the driver will install on your computer. For PCs running Windows 10 OS, the Focus Motor ASCOM driver should find and connect to the Focus Motor when it is plugged into a USB port on the PC. For PCs running an earlier OS than Windows 10, the Focus Motor connection to the driver does not occur automatically. Please follow these steps to connect the Focus Motor and ASCOM driver:
1. Open this link using a browser other than Internet Explorer or Edge: http://software.celestron.com/installers/Focuser/USB_Device_Driver/
You should see a screen which looks like this:
2. Right-click on the USB_DeviceDriver.inf file, and select Save link as€¦. Then, save the file to a location on your computer.
3. Next, update the driver from the computer's Device Manager. Locate the new hardware under Ports (COM & LPT) which may show a (!) symbol next to the Focus Motor indicating the device is not yet working. Right-click on the device and select Update Driver Software. Then select the file path where you saved the downloaded INF file.
4. The ASCOM driver should now connect properly to the Focus Motor.
After installation, upon powering the motor, the motor is straining to turn the focuser knob, or will not move the focuser knob at all. I have confirmed the motor's clamping screw is tightened, what is going on?
Improper installation is the likely culprit here. The original Setup Guide provided with the focus motor neglected to mention some key details which could lead to improper installation. The result is the motor can be slightly tilted relative to the focuser knob, which can cause the focuser to bind when the motor's clamping screw is tightened. We have updated the Setup Guide to include additional installation tips and details, you can download the most current Setup Guide from the Focus Motor webpage at celestron.com. The solution is to uninstall the focus motor and cover plate from the telescope and they reinstall by carefully following the revised Setup Guide instructions.
To summarize, there are two areas where tilt can be introduced when installing the focus motor (1.) installation of the cover plate onto the recess in the telescope's rear cell, and (2.) installation of the focus motor onto the cover plate.
Installation of the Cover Plate
Here are the key installation tips to follow to prevent tilting of the cover plate and focuser knob during installation:
- We recommend first placing the telescope tube in a vertical position (i.e. with the front aperture facing the ground) during installation, as this will prevent any sagging due to gravity before the cover plate screws are fully tightened.
- When attaching the cover plate to the telescope's rear cell, before the screws are fully tightened and the cover plate can still move around slightly, make sure the central hole in the cover plate is concentric with the brass cylinder of the focuser knob.
- When tightening the cover plate screws, hold the brass cylinder concentric with the cover plate while tightening the three screws by a small amount each. Follow the arrows in the illustration below for the tightening sequence. This will require two or three passes. DO NOT OVERTIGHTEN THE SCREWS! This can cause the focuser bearing to bind. The screws should be tight enough to prevent any lateral movement of the focuser knob, but not so tight that it binds. The cover plate must install flatly onto the machined surface in the recess without tilting.
- After tightening the cover plate screws, check to make sure the focuser knob cannot move when applying side pressure to it. If the focuser knob can move, then the brass cylinder will need to be re-centered), and the screws will need to be tightened a little more. This is an important step, as it will ensure the focus motor will install straight and won't bind and become inoperable. However, do not overtighten the screws!
- Rotate the focuser knob a couple rotations in each direction to make sure it moves smoothly and does not bind. If it does bind, then completely loosen the cover plate screws and begin installation again, this time being sure to better center the focus knob and to not overtighten the screws.
Installation of the Focus Motor on the Cover Plate
Here are the key installation tips to follow to prevent tilting of the focus motor during installation:
- Slide the focus motor onto the focuser knob until the two attachment posts on the face of the motor are flat against the cover plate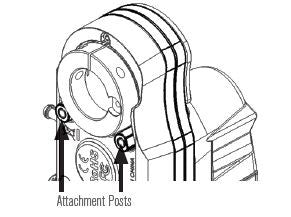
- Check to make sure there are no air gaps between the cover plate and the two attachment posts on the focus motor as indicated by the arrow in the illustration below.
- Tighten the two captive screws on the motor to the corresponding threaded holes on the cover plate using the supplied hex key. Again, first loosely connect the screws to the cover plate, then alternate tightening each screw by a small amount until the focus motor cannot move or wiggle and is solid. Do not overtighten the screws.
The focus motor has caused the focuser to bind, can I use the provided wrench to turn the rear coupler of the motor to force the focuser to become unbound?
In general, no, as this can damage the focus motor. If after initial installation the focuser binds and the motor cannot turn, loosen the clamping screw on the motor collar. Then uninstall and reinstall the focus motor and cover plate using the tips above (or, better yet, by following the revised Setup Guide). If the focus motor is not causing the focuser to bind, but the motor has become stuck at the end of focuser travel (i.e. as might occur if the focus motor has not yet been calibrated, or as could potentially occur during the calibration routine), then the wrench can be used to slightly back off the focus motor from the end of travel, and normal focus motor operation should resume. DO NOT ATTEMPT TO USE THE WRENCH WHEN THE MOTOR IS POWERED ON! Damage to the motor can otherwise result.
You can determine if the Focus Motor is compatible with your Celestron SCT by examining the design of its rear cell. This applies to fork mounted optical tubes and optical tubes with dovetail mounting bars. Older generation Celestron SCTs built before the year 2006 are not compatible with the Focus Motor. These older optical tubes have either a flat face or a ribbed face on the rear cell. See photo examples below.
Newer generation Celestron SCTs built in the year 2006 or later are compatible with the Focus Motor. These newer OTAs have a trilobed shape on the rear cell. In addition, newer generation 14 inch SCTs have a rounded rear cell. See photo examples below. All 6 SCTs built in 2006 or later are compatible with the focus motor.

The ASCOM driver must first be downloaded and installed on your Windows computer. You can find the ASCOM driver on the Focus Motor product page at www.celestron.com under the Support and Downloads tab. Click on the downloaded .exe file, and the driver will install on your computer. For PCs running Windows 10 OS, the Focus Motor ASCOM driver should find and connect to the Focus Motor when it is plugged into a USB port on the PC. For PCs running an earlier OS than Windows 10, the Focus Motor connection to the driver does not occur automatically. Please follow these steps to connect the Focus Motor and ASCOM driver:
1. Open this link using a browser other than Internet Explorer or Edge: http://software.celestron.com/installers/Focuser/USB_Device_Driver/
You should see a screen which looks like this:
2. Right-click on the USB_DeviceDriver.inf file, and select Save link as€¦. Then, save the file to a location on your computer.
3. Next, update the driver from the computer's Device Manager. Locate the new hardware under Ports (COM & LPT) which may show a (!) symbol next to the Focus Motor indicating the device is not yet working. Right-click on the device and select Update Driver Software€¦. Then select the file path where you saved the downloaded INF file.
4. The ASCOM driver should now connect properly to the Focus Motor.
Improper installation is the likely culprit here. The original Setup Guide provided with the focus motor neglected to mention some key details which could lead to improper installation. The result is the motor can be slightly tilted relative to the focuser knob, which can cause the focuser to bind when the motor's clamping screw is tightened. We have updated the Setup Guide to include additional installation tips and details, you can download the most current Setup Guide from the Focus Motor webpage at celestron.com. The solution is to uninstall the focus motor and cover plate from the telescope and they reinstall by carefully following the revised Setup Guide instructions.
To summarize, there are two areas where tilt can be introduced when installing the focus motor (1.) installation of the cover plate onto the recess in the telescope's rear cell, and (2.) installation of the focus motor onto the cover plate.
Installation of the Cover Plate
Here are the key installation tips to follow to prevent tilting of the cover plate and focuser knob during installation:
- We recommend first placing the telescope tube in a vertical position (i.e. with the front aperture facing the ground) during installation, as this will prevent any sagging due to gravity before the cover plate screws are fully tightened.
- When attaching the cover plate to the telescope's rear cell, before the screws are fully tightened and the cover plate can still move around slightly, make sure the central hole in the cover plate is concentric with the brass cylinder of the focuser knob.
- When tightening the cover plate screws, hold the brass cylinder concentric with the cover plate while tightening the three screws by a small amount each. Follow the arrows in the illustration below for the tightening sequence. This will require two or three passes. DO NOT OVERTIGHTEN THE SCREWS! This can cause the focuser bearing to bind. The screws should be tight enough to prevent any lateral movement of the focuser knob, but not so tight that it binds. The cover plate must install flatly onto the machined surface in the recess without tilting.
- After tightening the cover plate screws, check to make sure the focuser knob cannot move when applying side pressure to it. If the focuser knob can move, then the brass cylinder will need to be re-centered), and the screws will need to be tightened a little more. This is an important step, as it will ensure the focus motor will install straight and won't bind and become inoperable. However, do not overtighten the screws!
- Rotate the focuser knob a couple rotations in each direction to make sure it moves smoothly and does not bind. If it does bind, then completely loosen the cover plate screws and begin installation again, this time being sure to better center the focus knob and to not overtighten the screws.
Installation of the Focus Motor on the Cover Plate
Here are the key installation tips to follow to prevent tilting of the focus motor during installation:
- Slide the focus motor onto the focuser knob until the two attachment posts on the face of the motor are flat against the cover plate
- Check to make sure there are no air gaps between the cover plate and the two attachment posts on the focus motor as indicated by the arrow in the illustration below.
- Tighten the two captive screws on the motor to the corresponding threaded holes on the cover plate using the supplied hex key. Again, first loosely connect the screws to the cover plate, then alternate tightening each screw by a small amount until the focus motor cannot move or wiggle and is solid. Do not overtighten the screws.
In general, no, as this can damage the focus motor. If after initial installation the focuser binds and the motor cannot turn, loosen the clamping screw on the motor collar. Then uninstall and reinstall the focus motor and cover plate using the tips above (or, better yet, by following the revised Setup Guide). If the focus motor is not causing the focuser to bind, but the motor has become stuck at the end of focuser travel (i.e. as might occur if the focus motor has not yet been calibrated, or as could potentially occur during the calibration routine), then the wrench can be used to slightly back off the focus motor from the end of travel, and normal focus motor operation should resume. DO NOT ATTEMPT TO USE THE WRENCH WHEN THE MOTOR IS POWERED ON! Damage to the motor can otherwise result.
| MANUALS: |
|---|
| Focus Motor Quick Setup Guide |
| Focus Motor 94155-A Manual |
| SOFTWARE & FIRMWARE: |
| Celestron Focuser Utility Program |
| Focuser ASCOM Driver |
| OTHER PRODUCT FILES: |
| Focus Motor Dimensions |
| Focus Motor Installation for the RASA 36cm |
| Focus Motor Warning Note |
Specifications
| Motor: | DC servo motor |
| Spur gears: | Brass, 1:1 gear ratio, 35.2mm diameter, 42 teeth |
| Focuser shaft coupler: | Aluminum clamping sleeve |
| Microprocessor: | NXP Kinetis series, Arm Coretex-M4 core |
| AUX port power: | Powered by Celestron computerized mount AUX port, connecting cable supplied |
| USB port power: | USB3 or USB2 providing at least 900mA |
| DC jack power: | 12V DC, 1A, 5.5mm (0.21") and 2.1mm (0.08") tip positive plug |
| Compatibility: | All SCTs produced after 2006 except 5" SCT, all EdgeHD, RASA 8", RASA 36cm, 7" Mak-Cass |
| Speed rates: | 8°/sec , 32°/sec , 128°/sec |
| Focuser Steps per Revolution: | 1000 steps |
| Weight: | 15 oz (.42 kg) |
| Solar Warning |
