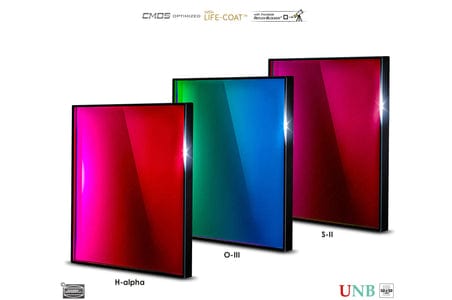
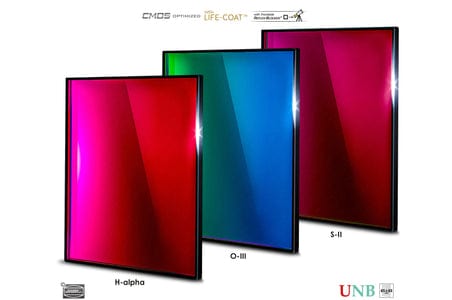
Highlights
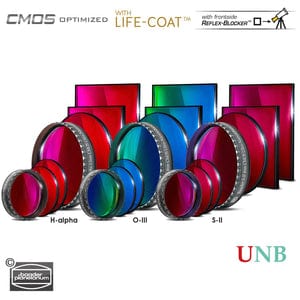
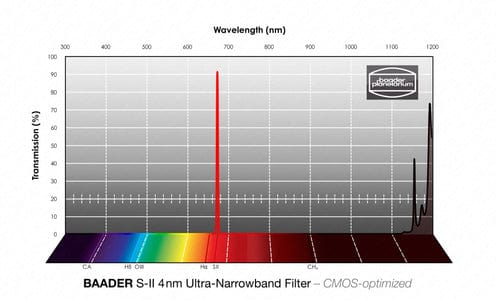
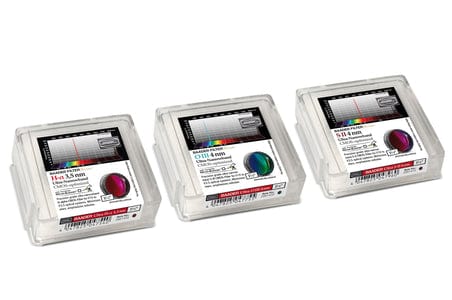
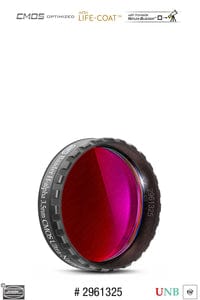
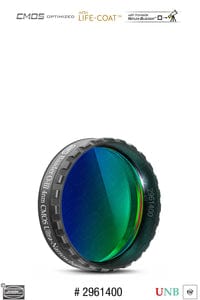
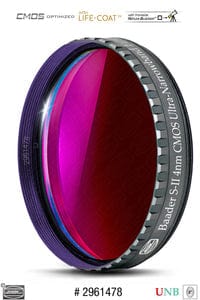
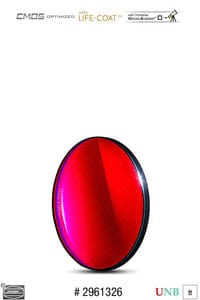
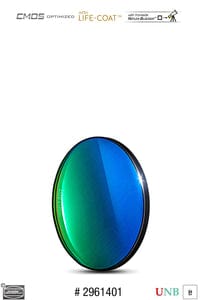
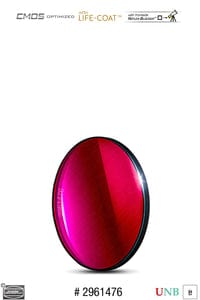
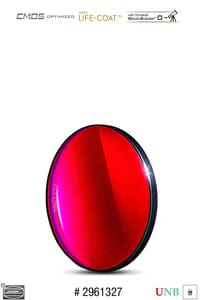
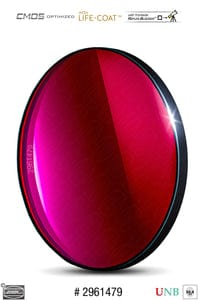
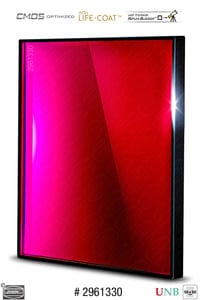
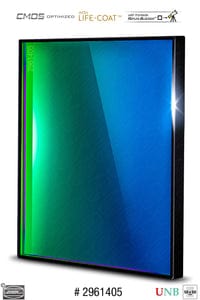
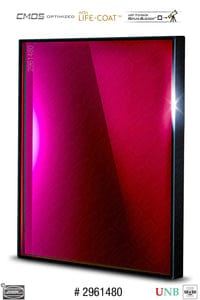
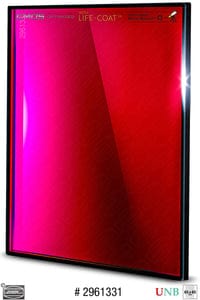
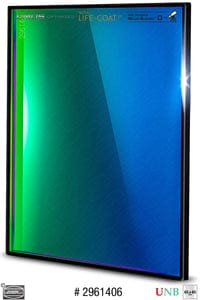
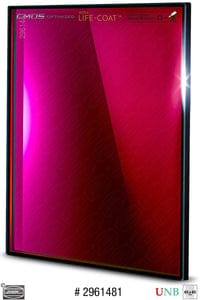
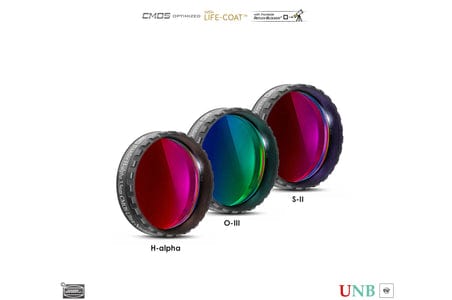
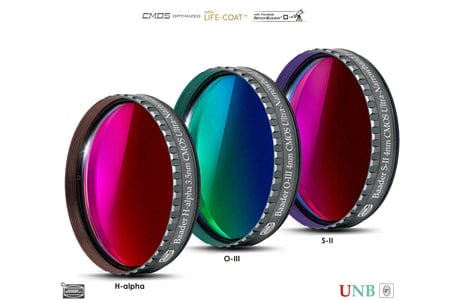
- Baader S-II Ultra-Narrowband Filter – Premium Grade
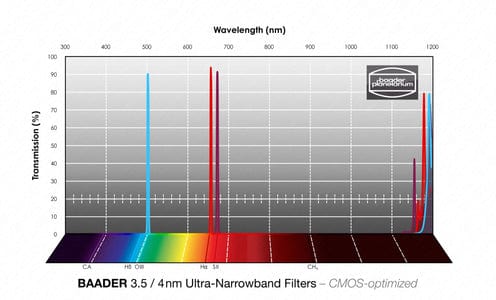
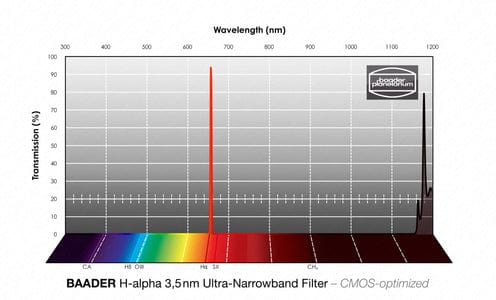
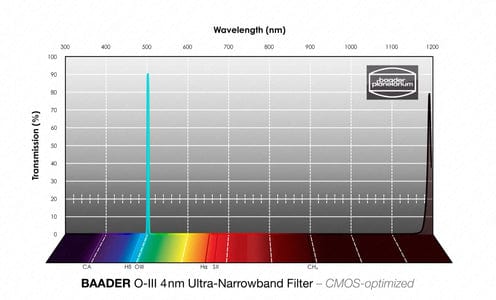
- 4 nm FWHM, recommended for optical systems from f/10 to f/3.5
- For highest contrast even at strongest light pollution, minimizes star size, emphasizes finest nebula detail – indispensable under Bortle 9/8/7/(6) skies
- Reflex-Blocker™ hard coated and planeoptically polished – with sealed coating edges (Life-Coat™)
- Blackened edges all around, with filter-lead-side-indicator in the form of a black frontside outer rim
- Optimized for modern CMOS cameras, but excellent for CCD camera technologies
This new generation of Baader CMOS-filters features:
DON´T BE MISLED.
These all new CMOS-optimized filters work magnificently with all existing digital camera technologies, be it CMOS or CCD. However – an owner of CCD-camera-technology will still find our previous, extremely affordable, narrowband filter technology to be fully apt for excellent imaging. But: "the Better always is enemy to the Good".
WE FOUND THE WAY
New CMOS-optimized Baader (Ultra-)Narrowband and Highspeed Filters
-
HALOS – viewed without prejudice

Halos - no problem!
A tutorial by Andreas Bringmann on how to remove halos around bright stars using Photoshop image editing – if desired.The moment you insert any type of filter into the optical setup, which consists of your specific camera, the appropriate flattener/reducer or coma corrector and the telescope, the filter becomes part of this unique optical system. And every optical system is different because many products from different manufacturers are involved. All optical surfaces interact with each other in some way. One possibility is that coatings of the camera reflect unwanted light back into the telescope and onto all optical elements in front of the filter.
If there is no other optical surface that will reflect the light back to the filter a second time, then it is perfect. There are no halos other than residual halos or scattering, which are unavoidable, depending on the filter design. That's what we mean by our slogan "no halos, no ghosting, no reflections" on our product pages. A filter rarely produces halos itself, which are created inside the filter by internal reflections (this happened to us once in 2015, but we replaced all of these filters). Because the moment there are other surfaces near the filter, it is much more likely that light will be reflected from one of those surfaces, creating halos that may not be removable.
There are so many combinations of camera (windows), field flatteners, correctors, etc., that it is common for "halo-free" filters to be involved in halo production in some unfortunate cases - but not guilty themselves. The RASA optics set a good example.

Small cause - big effect The anti-reflective coatings of the camera windows of different manufacturers differ slightly. Shown here are two cameras from different manufacturers, the left one reflects more in the green spectral range, the right one more in the blue spectral range. These small differences are responsible for the fact that the photos taken with the left camera in combination with OIII filters show strong halos, while with the right camera and the same filter halos will appear hardly noticeable.
In contrast to broadband RGB filters, narrowband filters reflect much more of the relevant spectral wavelengths near the emission lines. At the same time they produce a much darker sky background. Therefore, they are much more involved when halos occur. It is also no contradiction that cheaper, wider band filters show less halos. Because the narrower the filter, the longer the exposure time, the better the contrast. And all this increases the chances of stronger halos around more stars in the field.
We know from customers that the windows in front of the chips of certain camera models are more likely to produce halos than other cameras. And some more inexpensive flattener/reducer/correctors are also more often involved in the problem. A third problem is the lack of space to adjust the distances between the optical elements only slightly - as is the case with almost all primary-focus mirror systems. RASA and Hyperstar are also good examples here.
To find the source of the reflections, you can try turning the filter around so that the (more reflective) front is no longer facing the light source, but the camera sensor. It can help by chance that the reflection of another wavelength range from the other filter surface simultaneously reduces the halo appearance. Try this with unmounted filters. Very large overlapping halos are indications of reflections from distant surfaces. If the halos are closer to the edge of the image and eccentric to the star, they are likely caused by a curved surface such as a lens, e.g. from a flattener in front of the filter.[br]

C11 Hyperstar + ASI 1600 mm w/o filter, 60s exposure| © A. Bringmann.
Veil Nebula NGC 6960 with bright star Cyg52, single subframeBut: Are Halos really terrible? We notice that at the time of the Culimation of certain objects such as the Horsehead Nebula IC 434 or the Veil Nebula NGC 6960, there are especially many "Halo Complaints". The reason is quite simple: it is impossible to extract the image information of the nebula without halos if there is a bright star in the field that produces a strong halo even without a filter.
This fact and this appearance of the object is widely accepted - and it doesn't look any worse than the spikes on the photos taken with Newton reflectors. Some APO photographers even add artificial spikes to their photos.

From his 2.6M Private Observatory Andreas Bringmann is creating stunning deep sky images
Even photos from professional observatories show halos because they are unavoidable (not of concern) when a big field is main emphasis - and nobody hides the haloed results. More information can also be found in the document: Problems with filters can have the strangest Causes
If you send us your photo with a halo and give us detailed information about the optical setup (camera, reducer, flattener, corrector, filter, telescope with aperture ratio and all their manufacturers and positions) we might find a clue to find the source for the halo. But most likely you can't get rid of it - unless you are using an extensive image processing like our customer Andreas Bringmann, as described in the PDF Halos - no problem!
-
Off-standard single filter sizes from Baader - why not:
Quite often we receive requests for a single filter in an off-standard size. In all cases we are sorry that we must answer as follows:
Sorry (we know it would be so very much cheaper in production - and we would be so much more flexible to fill special requests) - but we have decided long ago to not cut or saw our filters from large plates because this would leave the coating stack open and mutilated (with microscopic cracks) all around, prone to aging and peeling.
Many times we had the chance to inspect our competitors filters after several years of use (due to our 30+years of servicing SBIG-CCD-cameras/and filter wheels) and we realized already 15 years ago how moisture and heat stress can deteriorate even most modern hard coatings, slowly peeling off from the carrying substrate over time, unless the coating stack is sealed all around the filter stack.
As a consequence - in order to create our filters to remain impermeable - we only offer all filter substrates already cut to final shape and run each substrate on an double deck auto-polisher to achieve perfect optical flatness and freedom from cone errors.
Then we do individually coat these substrates in 500 pc per run as minimum to fill a complete coating chamber, in a way that the coating stack (many times 50+ layers) applied onto each filter won't reach to the very edge of the round or square substrate, so that the coating stack remains completely sealed from all sides. In this way we can ensure that our filters will not age at all.The sad effect is that we cannot offer other sizes unless the inquired production quantity were in the range of 250 to 500 pc (depending on size) and the tooling rings or square holders will be paid for, which serve to precisely center each individual filter substrate within the rotating calotte inside the coating chamber. Sorry - as explained above - we just will not coat onto large plates and cut any shape from them, also because such large plates cannot be polished optically flat in the same way we do it.
For your most urgent need and for single piece solutions we can only recommend to order the next larger size of our respective filter and have that cut to shape by an ophtalmologist locally. We can supply the round filters without the metal cell in such cases; square filters come without cell in any case.
-
Unmounted Filters – which side should face the telescope?
Question in Detail:
I just bought LRGB 36mm unmounted filters. I have question: which side of filter should be placed towards telescope? Is it better way of distinguish than "more shiny surface towards telescope"?
Answer:
 Always put the more reflective side towards the telescope side. To guide you we already put a small arrow on the filter rim, on those filters were the position matters. This arrow indicates which face of the filter should be directed towards the sky (telescope-sided). All cell-mounted filters are already oriented in a way that the most appropriate filter face is facing the sky when the filter would be mounted directly onto the front end of the nosepiece of a camera.
If you mount your filter the other way, any reflected light would have a short way to the camera sensor, resulting in a higher risk of getting some kind of back-reflections inside the camera field. Many sensors have highly reflective areas near to the light sensitive area, also the area with the bonding contacts is sometimes highly reflective.But: this is true only for instruments without optical elements near to the focal plane. If you have f.e. a coma corrector, field flattener, focal reducer, focal extender (to a lower degree due to concave surface), or in extreme cases a whole lens group for more complex field corrections a few centimeters in front of the filter it could be useful to flip the filter against the rule from above (thus having the arrow pointing away from the telescope). Cause in such cases the likelihood of reflections from the sensor could be lesser then fort- and back- reflections from such glass-surfaces. If in doubt, it helps to make some test images from a star field with bright stars, using the filter in both ways for comparison.
Should you really have some reflections with both positions it can be more effective to add a spacer between filter and camera, eventually shifting the reflection out of the image field. With focal correctors having curved surfaces changing the filter-lens distance could help also.
