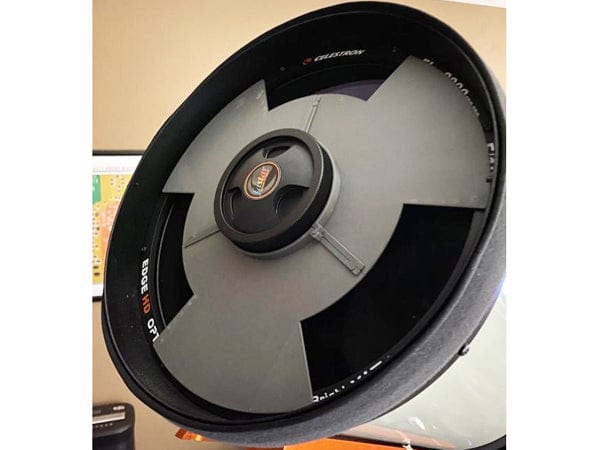
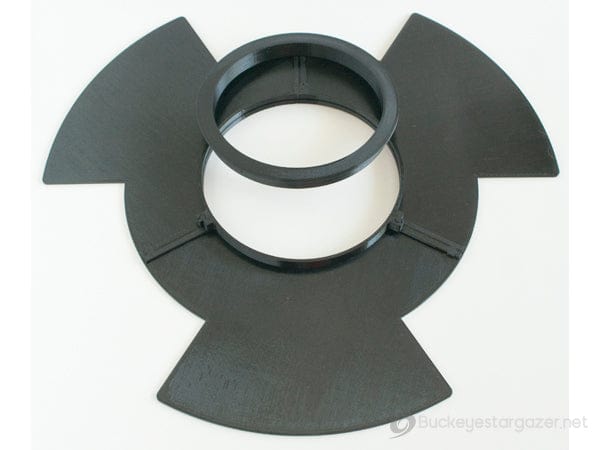
A Duncan Mask can be used to easily and quickly collimate your SCT. Instructions are provided below.
The mask comes in three sections that "snap-fit" together and can be taken apart for easier storage (C5 is one piece, 14" and larger are 6 sections).
Feel free to contact me if you do not see your scope listed.
Meade 8" LX200/LX200GPS/LX90//LX90GPS/LX50/Model 2080 (F10): Duncan-M8
Meade 8" Model 2080 (F6.3): Duncan-M8F6.3
Meade 8" LX90ACF/LX200ACF: Duncan-M8LXACF
Meade 10" LX200/LX200GPS/LX90/LX90GPS/LX50/LX3/Model 2120 (F10): Duncan-M10
Meade 10" LX200 F6.3: Duncan-M10LXF6.3
Meade 10" LX90ACF/LX200ACF: Duncan-M10LXACF
Meade 10" LX600ACF/LX850ACF: Duncan-M10LX600-850
Meade 10" LX200 EMC: Duncan-M10LXEMC
Meade 12" LX200/LX200GPS: Duncan-M12LX200
Meade 14" LX200/LX200GPS: Duncan-M14LX200
Meade 14" LX200ACF: Duncan-M14LXACF
Meade 16" LX200/LX200GPS: Duncan-M16LX200
Meade 16" ACF F8: Duncan-M16ACF-F8
Instructions for Use
1. Make sure your scope has cooled to ambient temperature.
2. Point the scope at a bright star that is high in elevation.
3. Place the mask on the scope. Orient the mask such that the three snap fit connection lines point to the 3 collimation screws on the Secondary as shown in the scope image to the left.
4. A camera works best, but you can also use a high magnification eyepiece. Grossly de-focus the star. You should see three arcs that correspond to the three cutouts.
5. As you bring the star closer to focus the curves will change into lines pointing to a common center.
6. Use the lines to adjust the collimation screw opposite the line. As you adjust the screw the line will move toward the center. The goal is to form a perfect Y where the lines touch in the center.
Printed in durable, temperature tolerant PETG filament.


